Channels
All Categories > Configuration > Channels
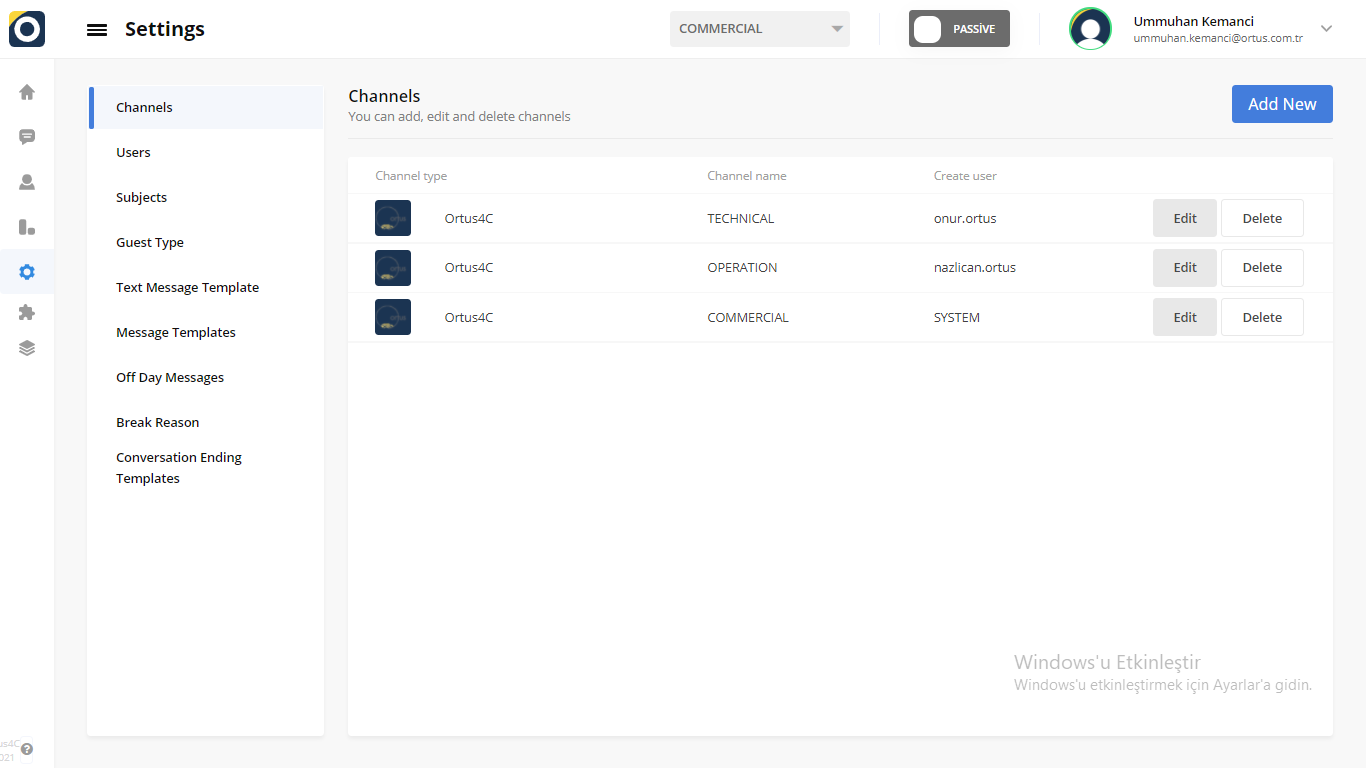
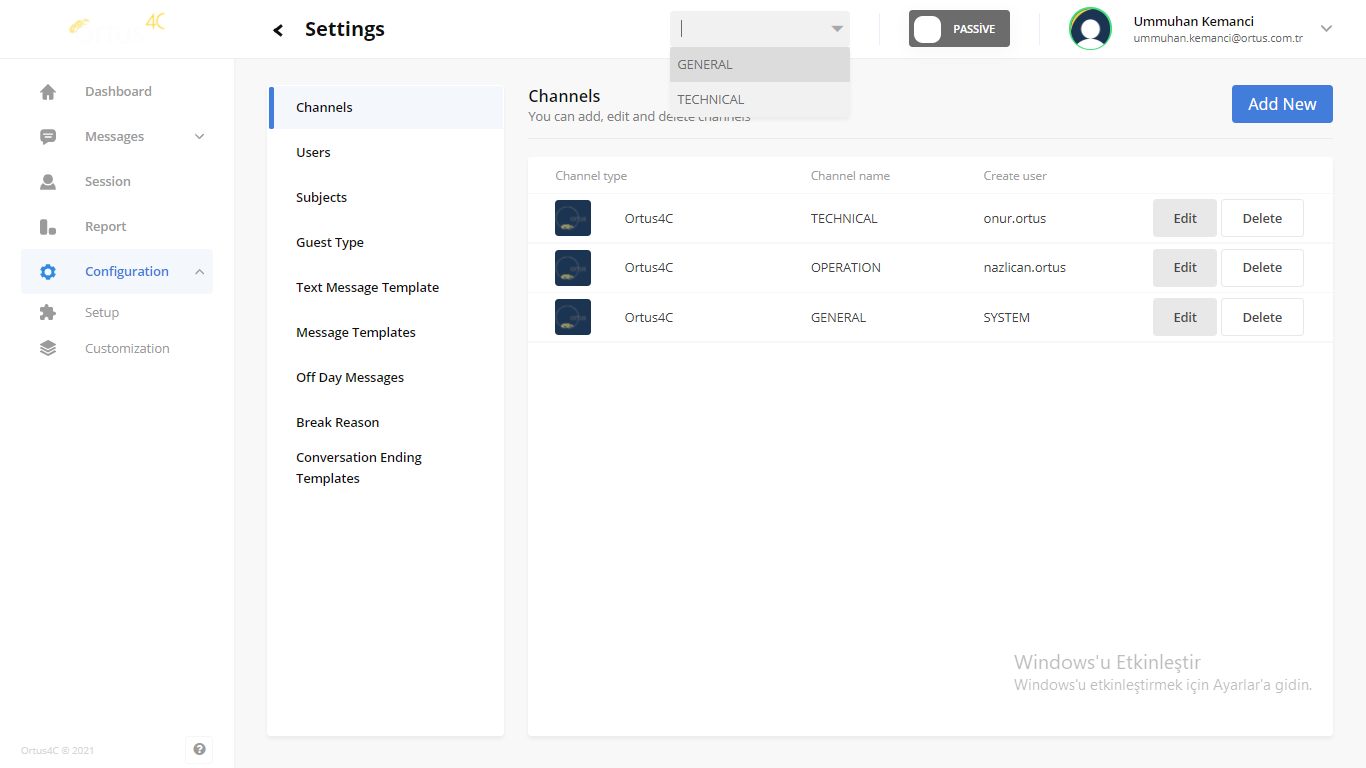
Channels
"Channels" in the "Configuration" section are templates used by customer service representatives. Channels related to different areas can be opened by customer relationship representatives. in this way, operators can provide an easier flow of services in here. For example, a "general channel" for general topics can be opened, and a "technical channel" for technical topics. Here you can create, edit, and delete topic management. Also, you can open multiple channels and use them all at the same time. You can read the article below for more information ??.
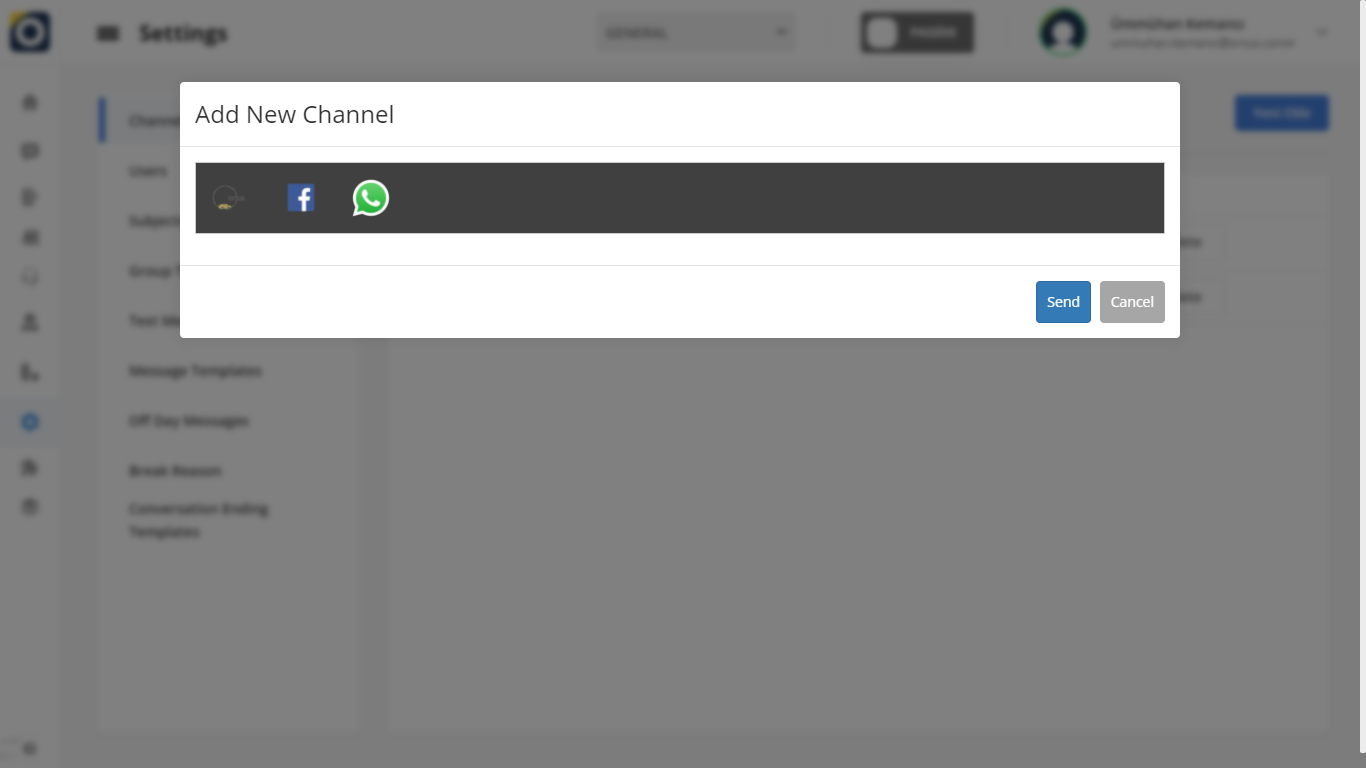
Add New to Channel
If you click the ''Add New'' button, you will see this screen. Please choose first to create your channel with ortusdesk, facebook and whatsApp support after than, if you enter channel name, channel type, social media token, social media ID, social media endpoint information in the add new section, your channel will be ready.
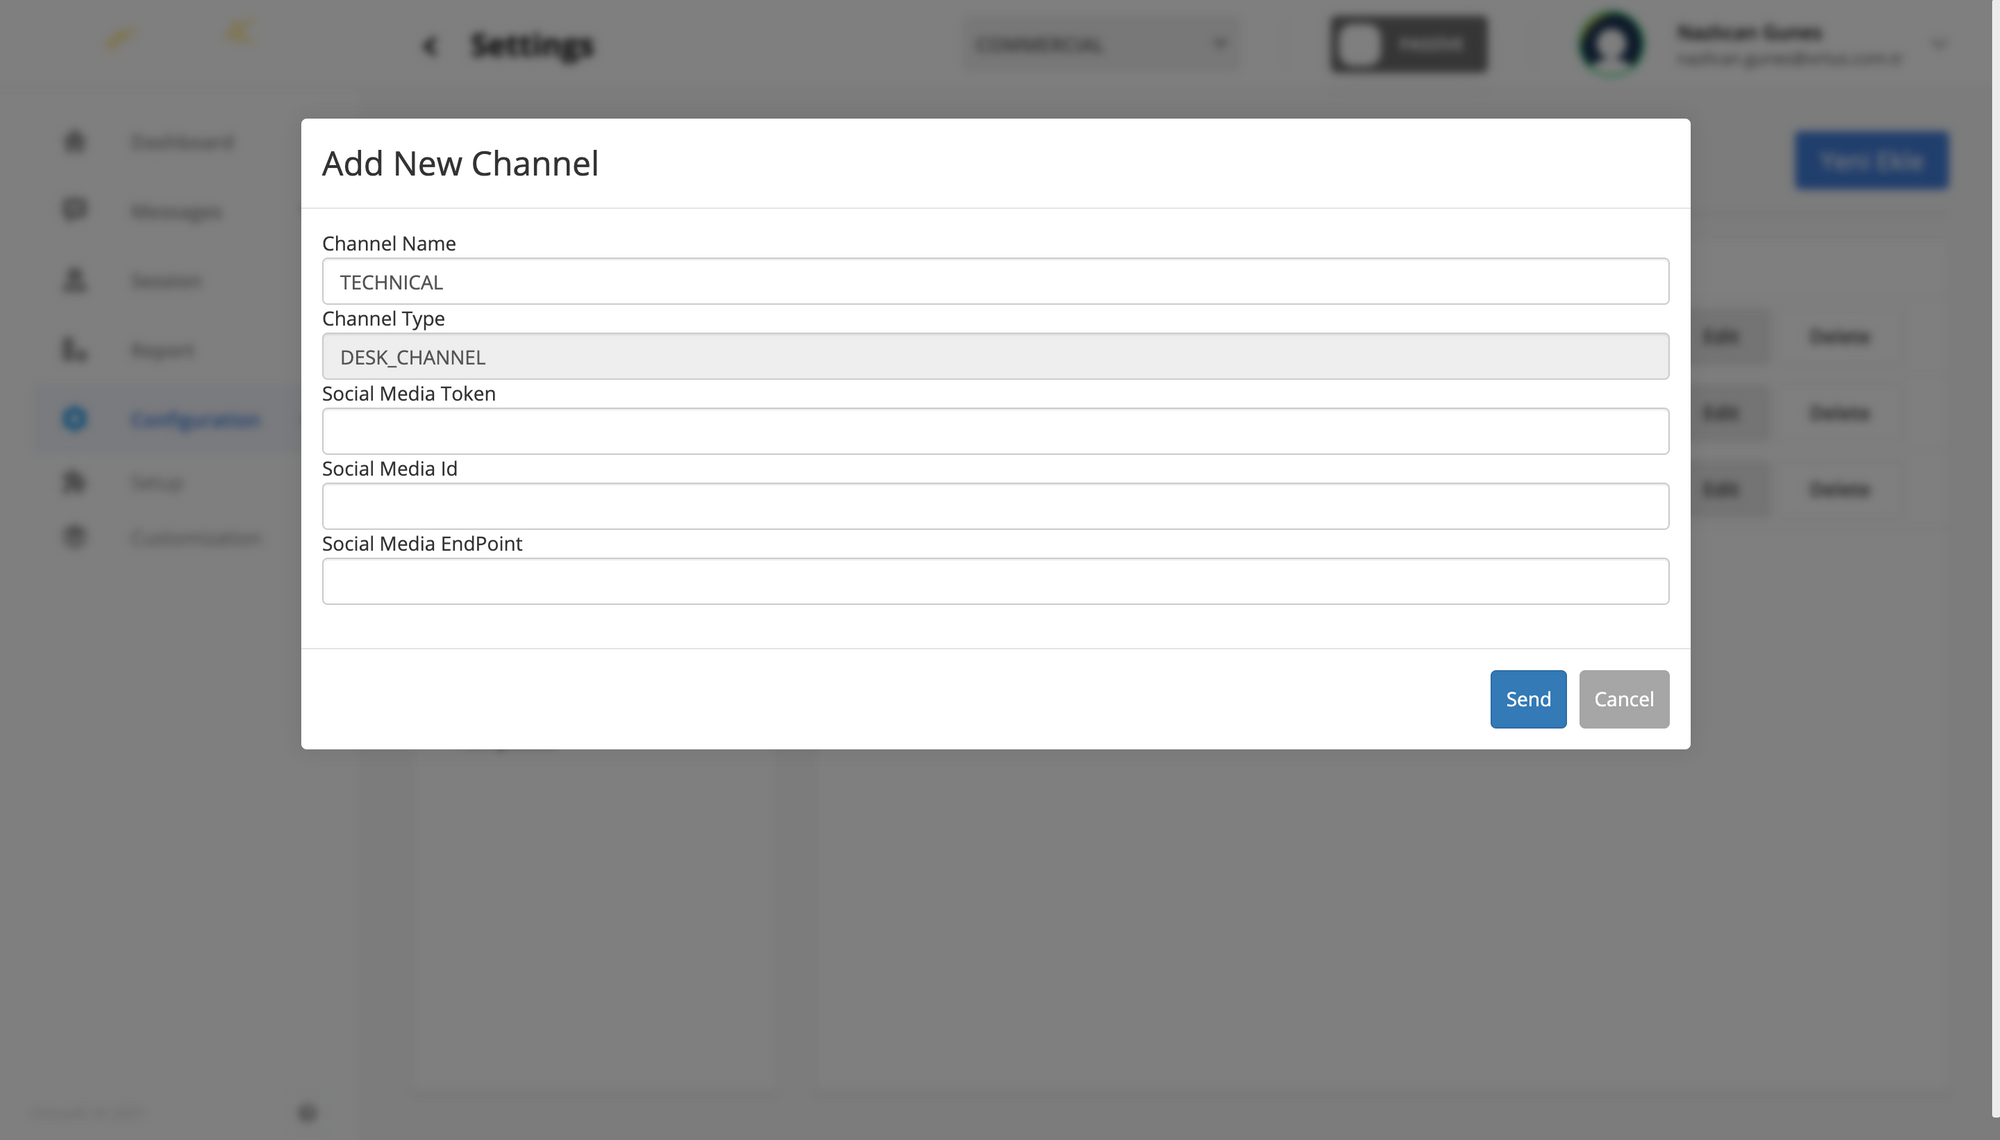
Channel Name: The Channel name is the area where the name of your channel is located.
Channel Type: The channel type is the area where your channel type is written. You do not have permission to change this field. Your channel type is ortus desk, which has existed since the beginning.
Social Media Token: It is a service token that will be used when going to a social media token.
Social Media ID: The social media ID field is for you to enter your social media password.
Social Media EndPoint: Social media is the endpoint information.
When you press this button, you'll see exactly the image of the one above. In the section with the Ortus logo, your customers contact you directly through this system. You can see what kind of screen they will display from the screenshots we have shown in our previous articles. Don't forget to check our other articles too!
You can enter your Facebook page by clicking on the Facebook logo. In this way, you will also provide support services to your customers who will come from Facebook. Again, all messages written on this platform will be sent to our Ortus system and you will be performing your service through this system.
In the WhatsApp section, we can say that your customers will contact you through the WhatsApp application. While your customers are communicating with you using this application on their mobile phones, you -operators- will also be replying through this system.
You can create a new channel here by entering your channel's name, social media accounts and more. You can also specify the type of channel.
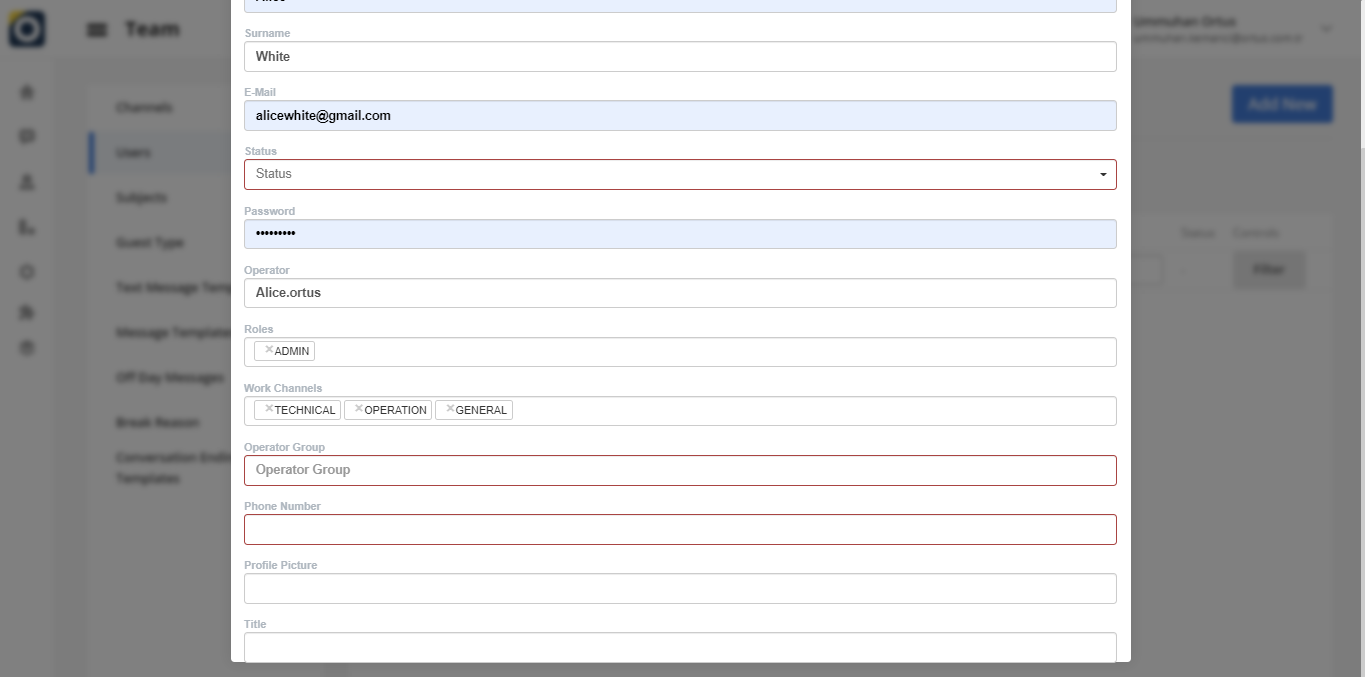
This channel will not appear directly when you add a new channel. In order to see the new channel added, you must navigate to the users menu in the settings section. You can select a new channel from the working channel column by selecting the edit option located above the profile you are using here.

Edit To Channel
You can use the "Edit" option in the text column to edit the channel. The channel you edit will change in the desired direction. When editing is complete, you will see the update successful statement in the upper-right corner of the Home screen. It' s Ready!

When you used the Edit option, the channel named "commercial" in the first picture was changed to "general". you can do this by following the update step. In order to save the updated channel name change, you must log out of the ortus desk page and enter it again.
Delete to Channel
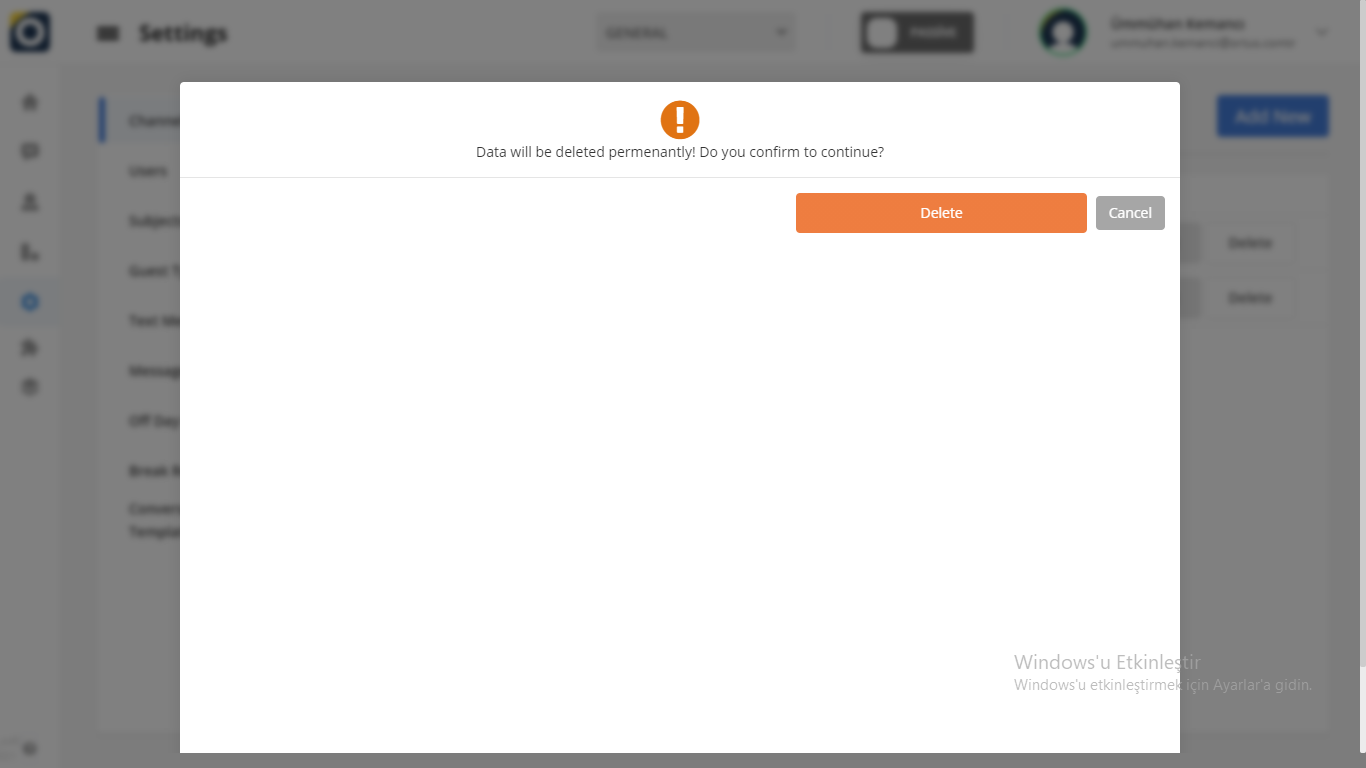
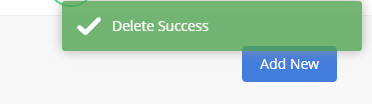
You can use the "Delete" option in the channel column to delete channel. When the deletion is complete, you will see the Delete successful statement in the upper-right corner of the Home screen. It' s Ready
That's it!
Still need help? Message Us