Group Type
All Categories > Configuration > Group Type
Group Type
"Group Type" in the "Configuration" section are templates used by customers. Customer service representatives determine here how many different catagories customers will participate in, and the customer connects to the customer service representative by selecting the catagory in which he or she is located before starting the interview. Here you can create, edit, and delete customer type management. You can read the article below for more information??
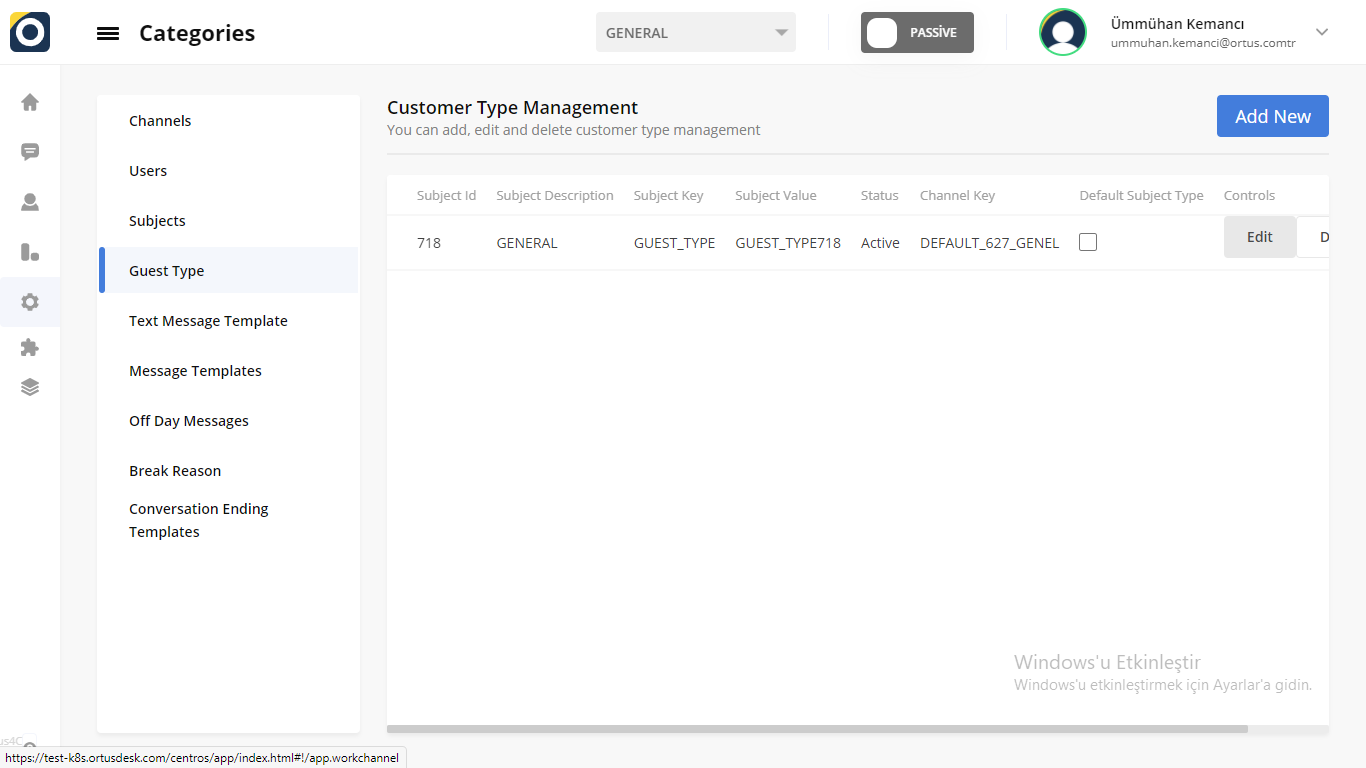
By categorizing your customers here, you can organize your customers like the topics we mentioned in our previous article. Our article, which is a similar topic, can be found in Configurations > Subject section.
Again, there may be changes depending on your company's customer type and customer Sunday. I gave you examples on the screen you see below to be more clear. This time, I wanted to give our samples from our own company. For example, this is how we can organize our customers who reach us through this support line. Our customers point to us first, so they want to contact us on behalf of the company when. In addition, with this section, you can make edits and be more organized by creating categories for your customers. But first, I want to show you something else.
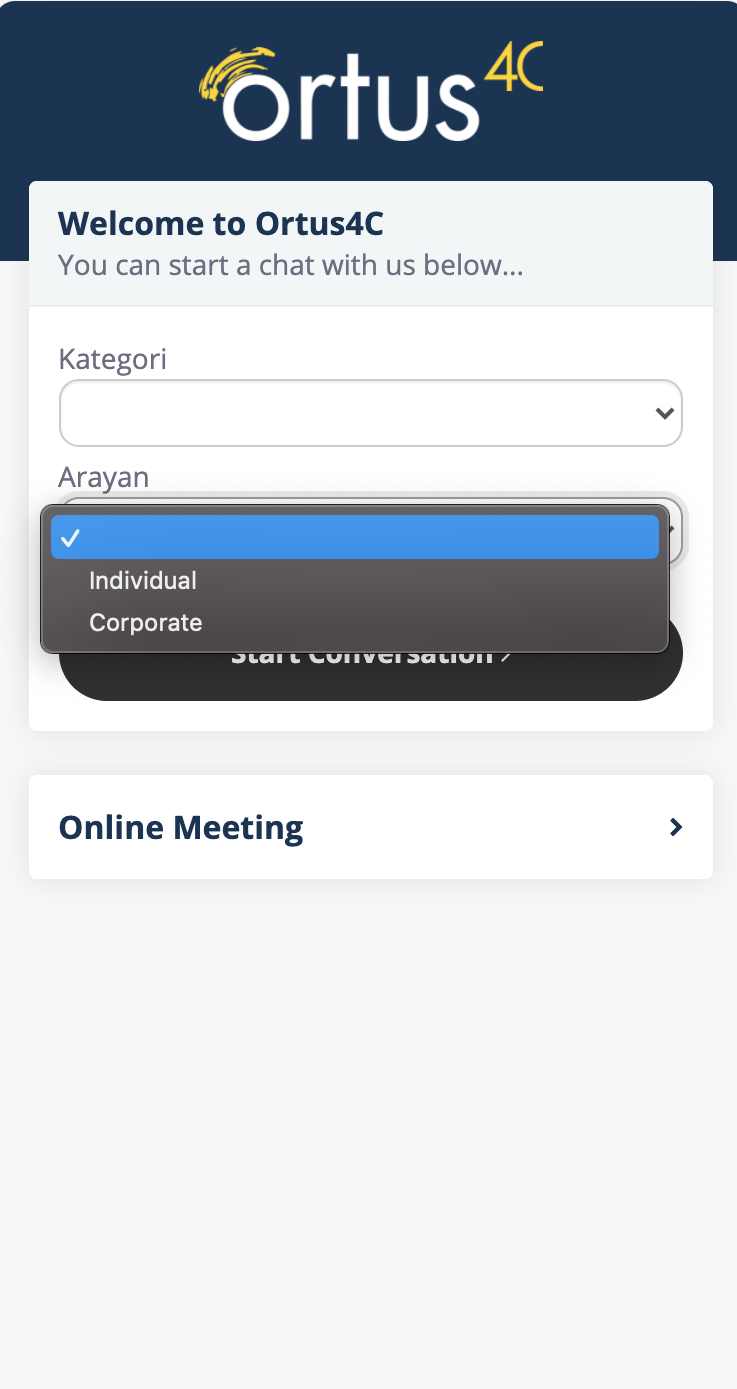
The changes or additions you make here will look exactly like this on the support line. This screen welcomes your customers. From here, you can customize this support line according to your company by making changes or additions as you wish.
Add New to Group Type
If you click the ''Add New'' button, you will see this screen. If you enter subject description information in the add new section, your templates will be ready.
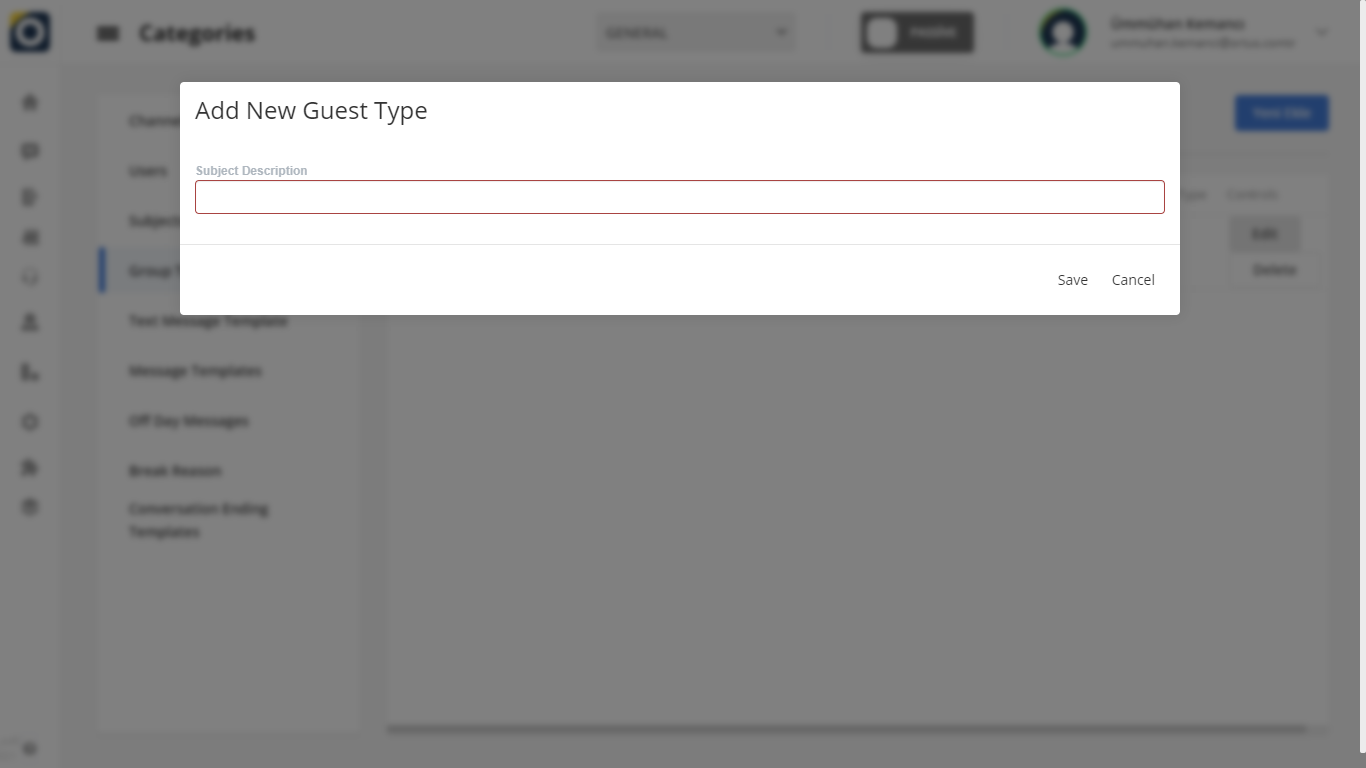
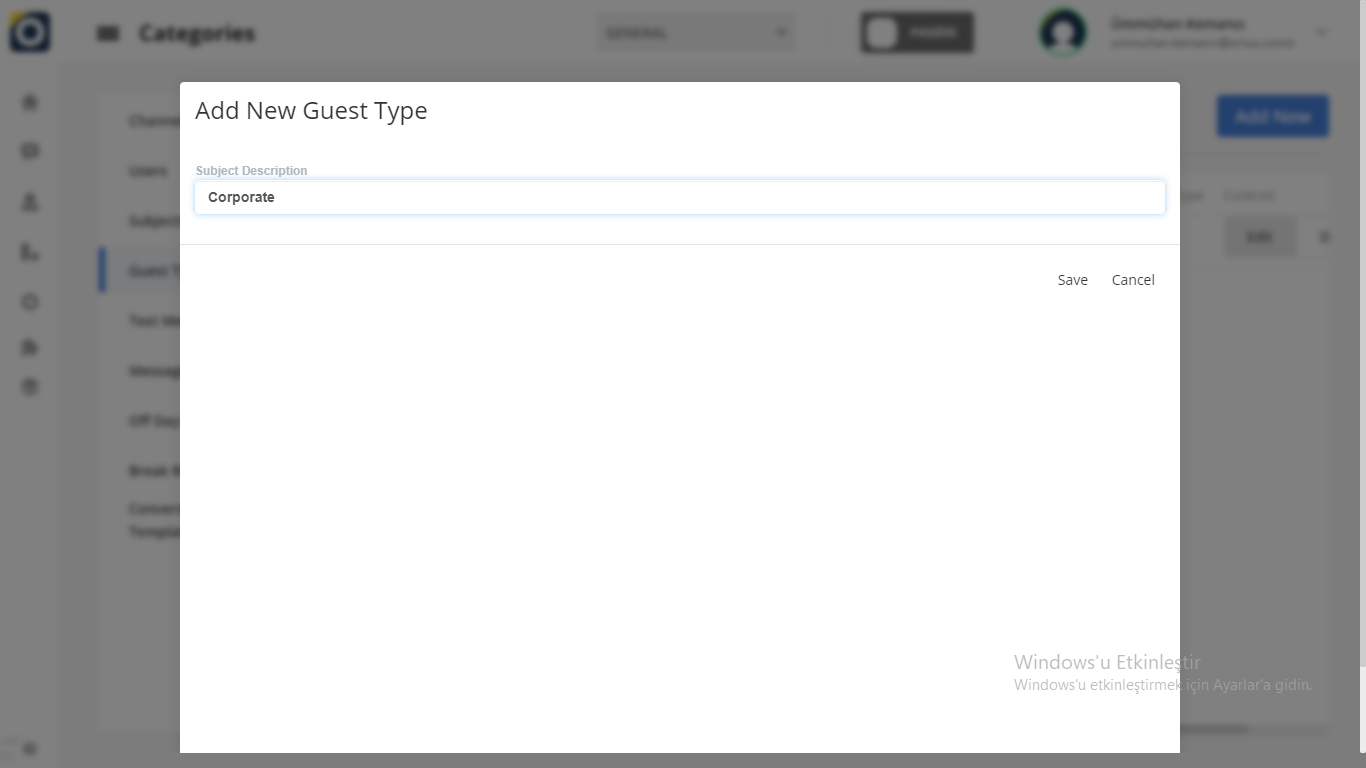
After clicking ''add new'' button, there will be a screen above. Here you need to specify your subject description. Above, we filled in the subject description part by typing the names of our customers. For example, we wrote Allianz and it happened directly. With this way you can define your categories.
After doing this, you will have completed the adding part.
Edit To Group Type
You can use the "Edit" option in the upper-right corner of the text column to edit Group Type. The text you edit will change in the desired direction. When editing is complete, you will see the update successful statement in the upper-right corner of the Home screen. It' s Ready!

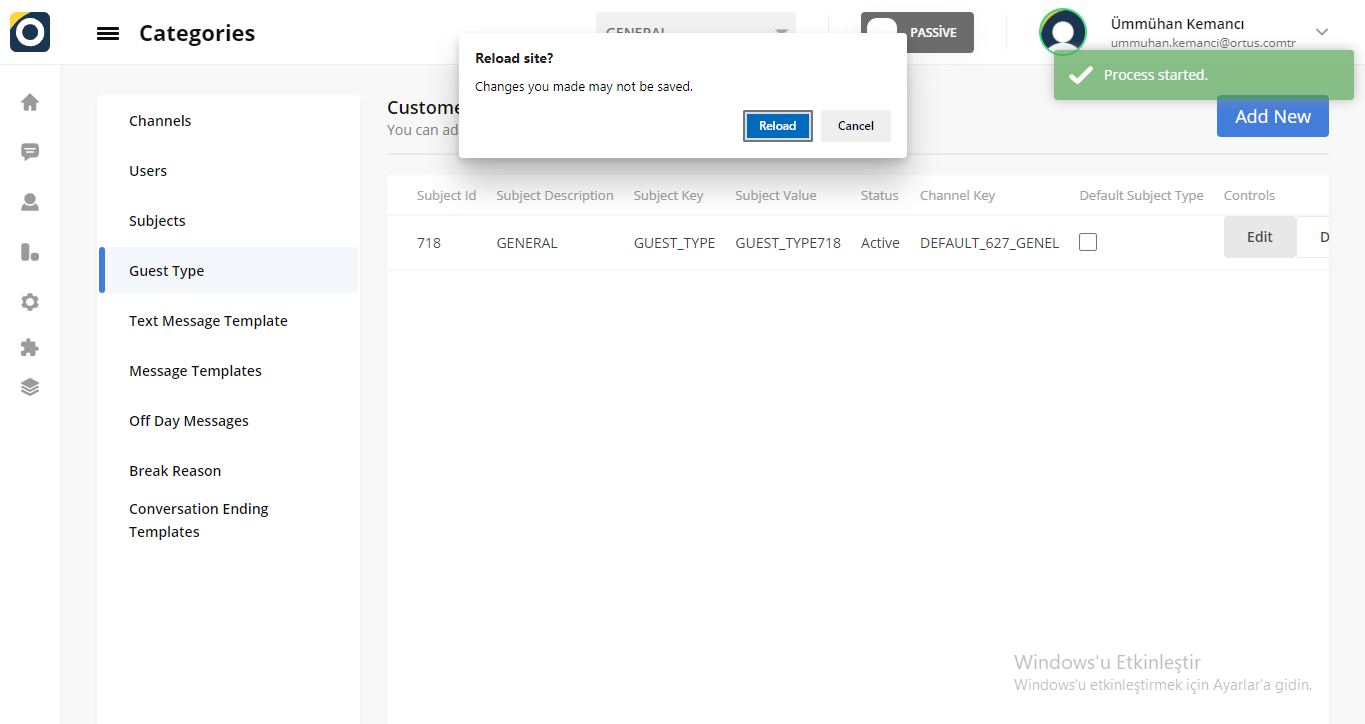
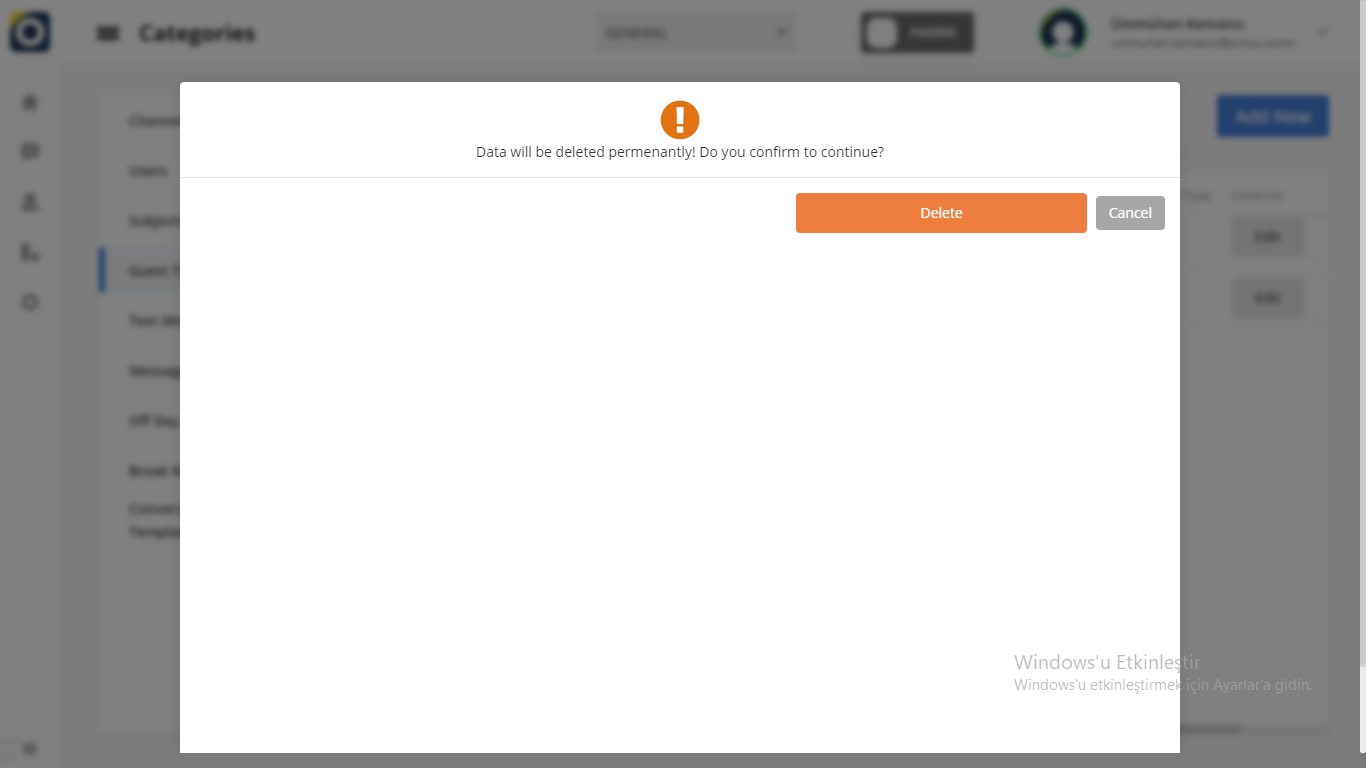
Delete to Group Type
You can use the Delete option under the edit button in the upper-right corner of the message column to delete your group type. When the deletion is complete, you will see the Delete successful statement in the upper-right corner of the Home screen. It's Ready!
That's it!
Still need help? Message Us