Appointment
All Categories > Handbook > Appointment
"Appointment" in the "Handbook" section is for make an appointment and edit the appointments you created so that you can talk to the operator you created the appointment with. You can read the article below for more information. ??
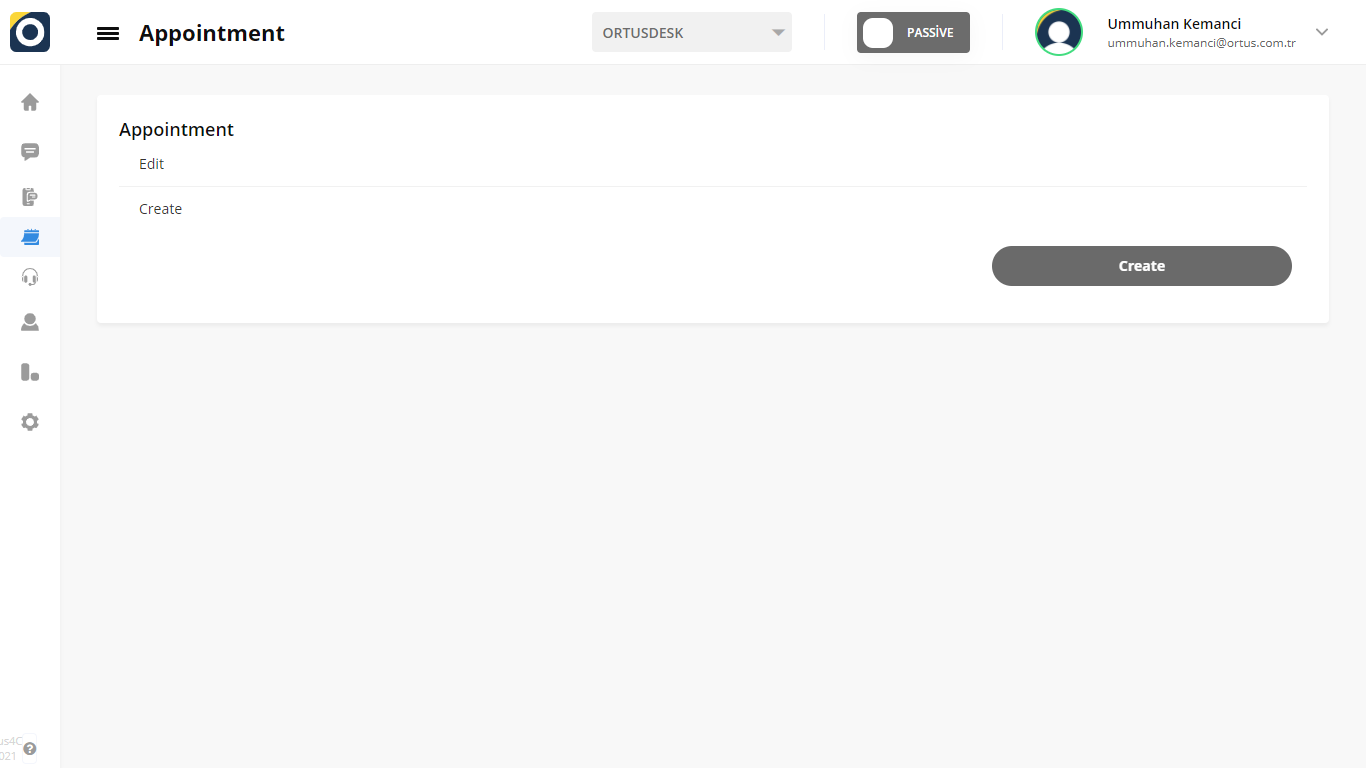
If you want to create an appointment, you can do by pressing the create button. When you click the create button, a page like the one below will appear. This process takes place when you click the create button on the white button instead of the black button.
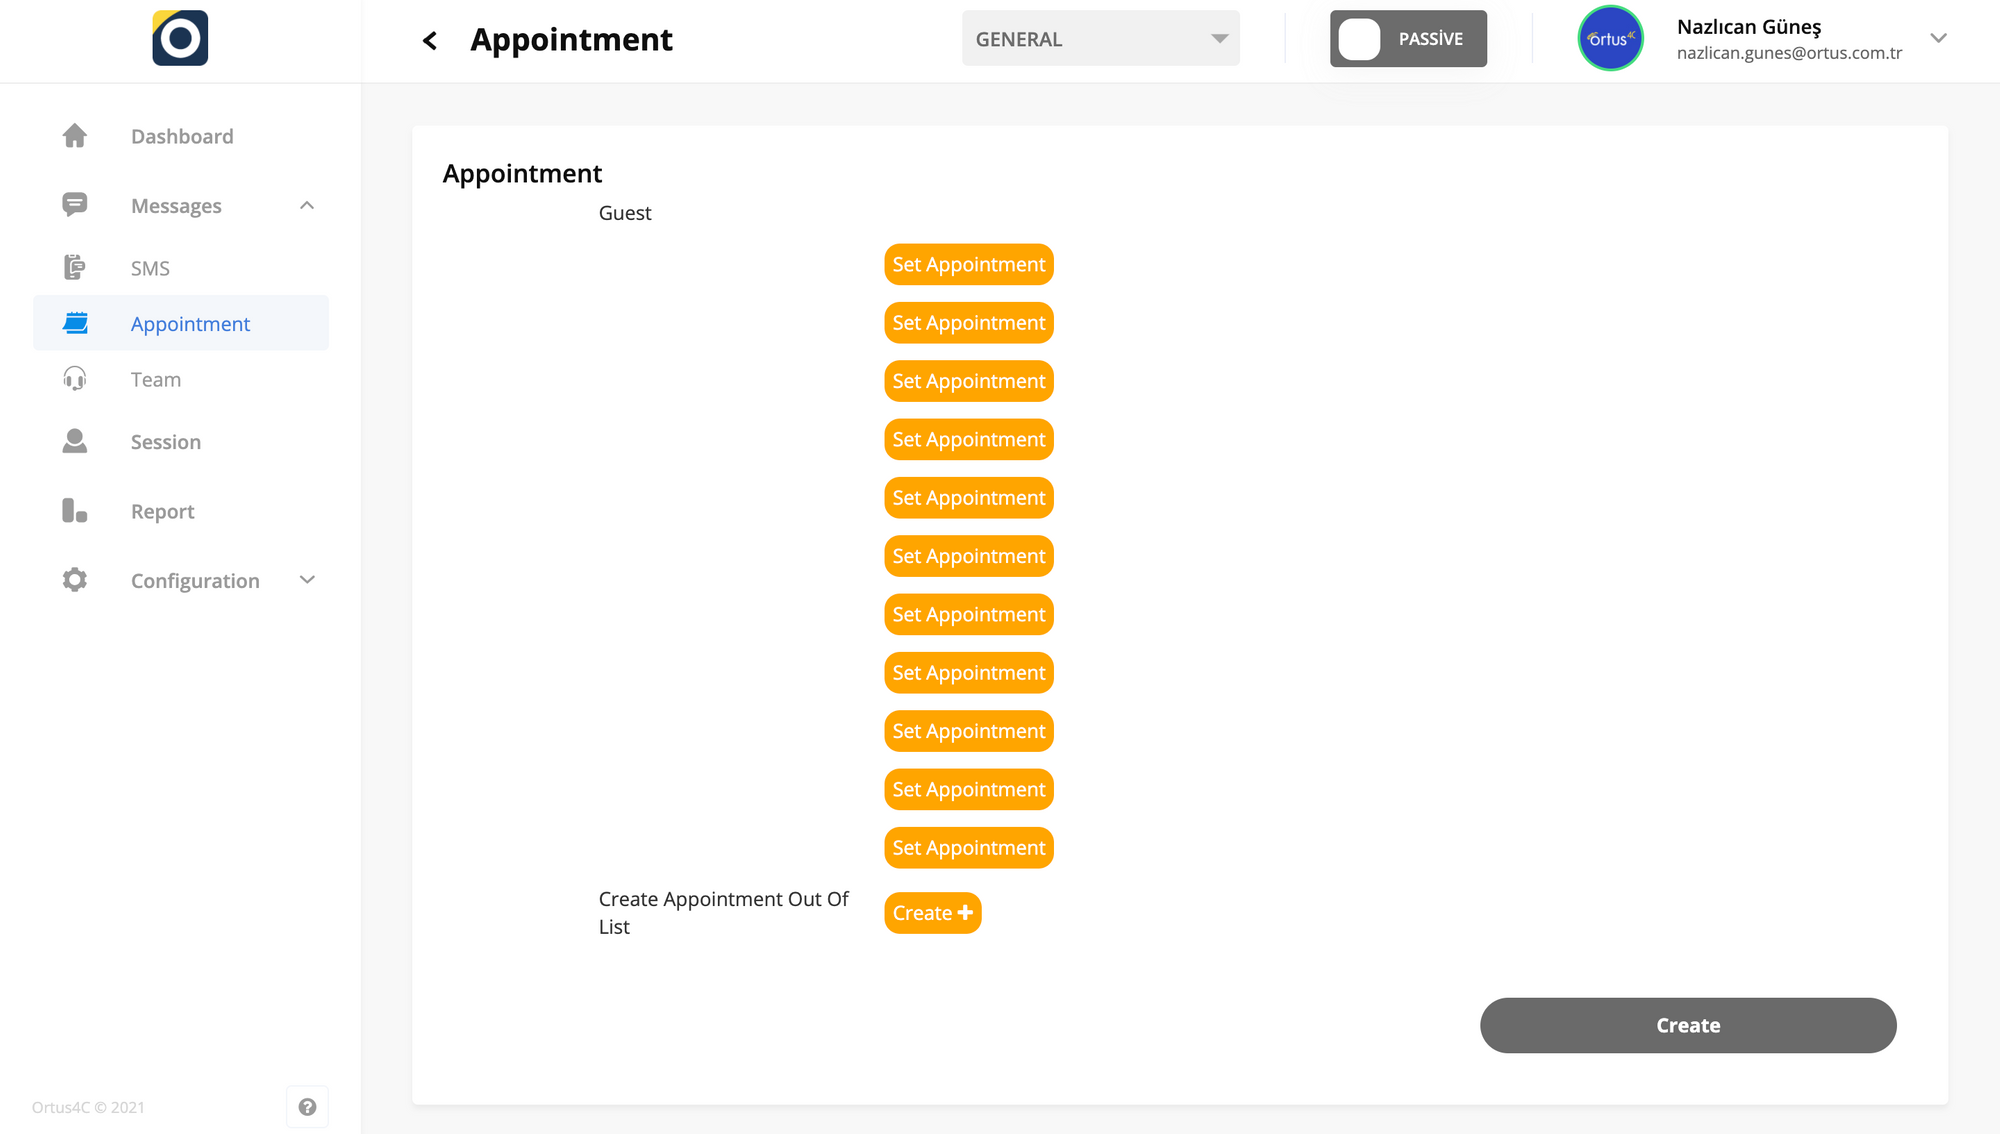
If you press the create button again from the create appointment out of list section, a page will appear where the channels are displayed. In our previous articles, we also mentioned how to create and edit these channels. You can access this information again from the Configuration>Channels section of our page.
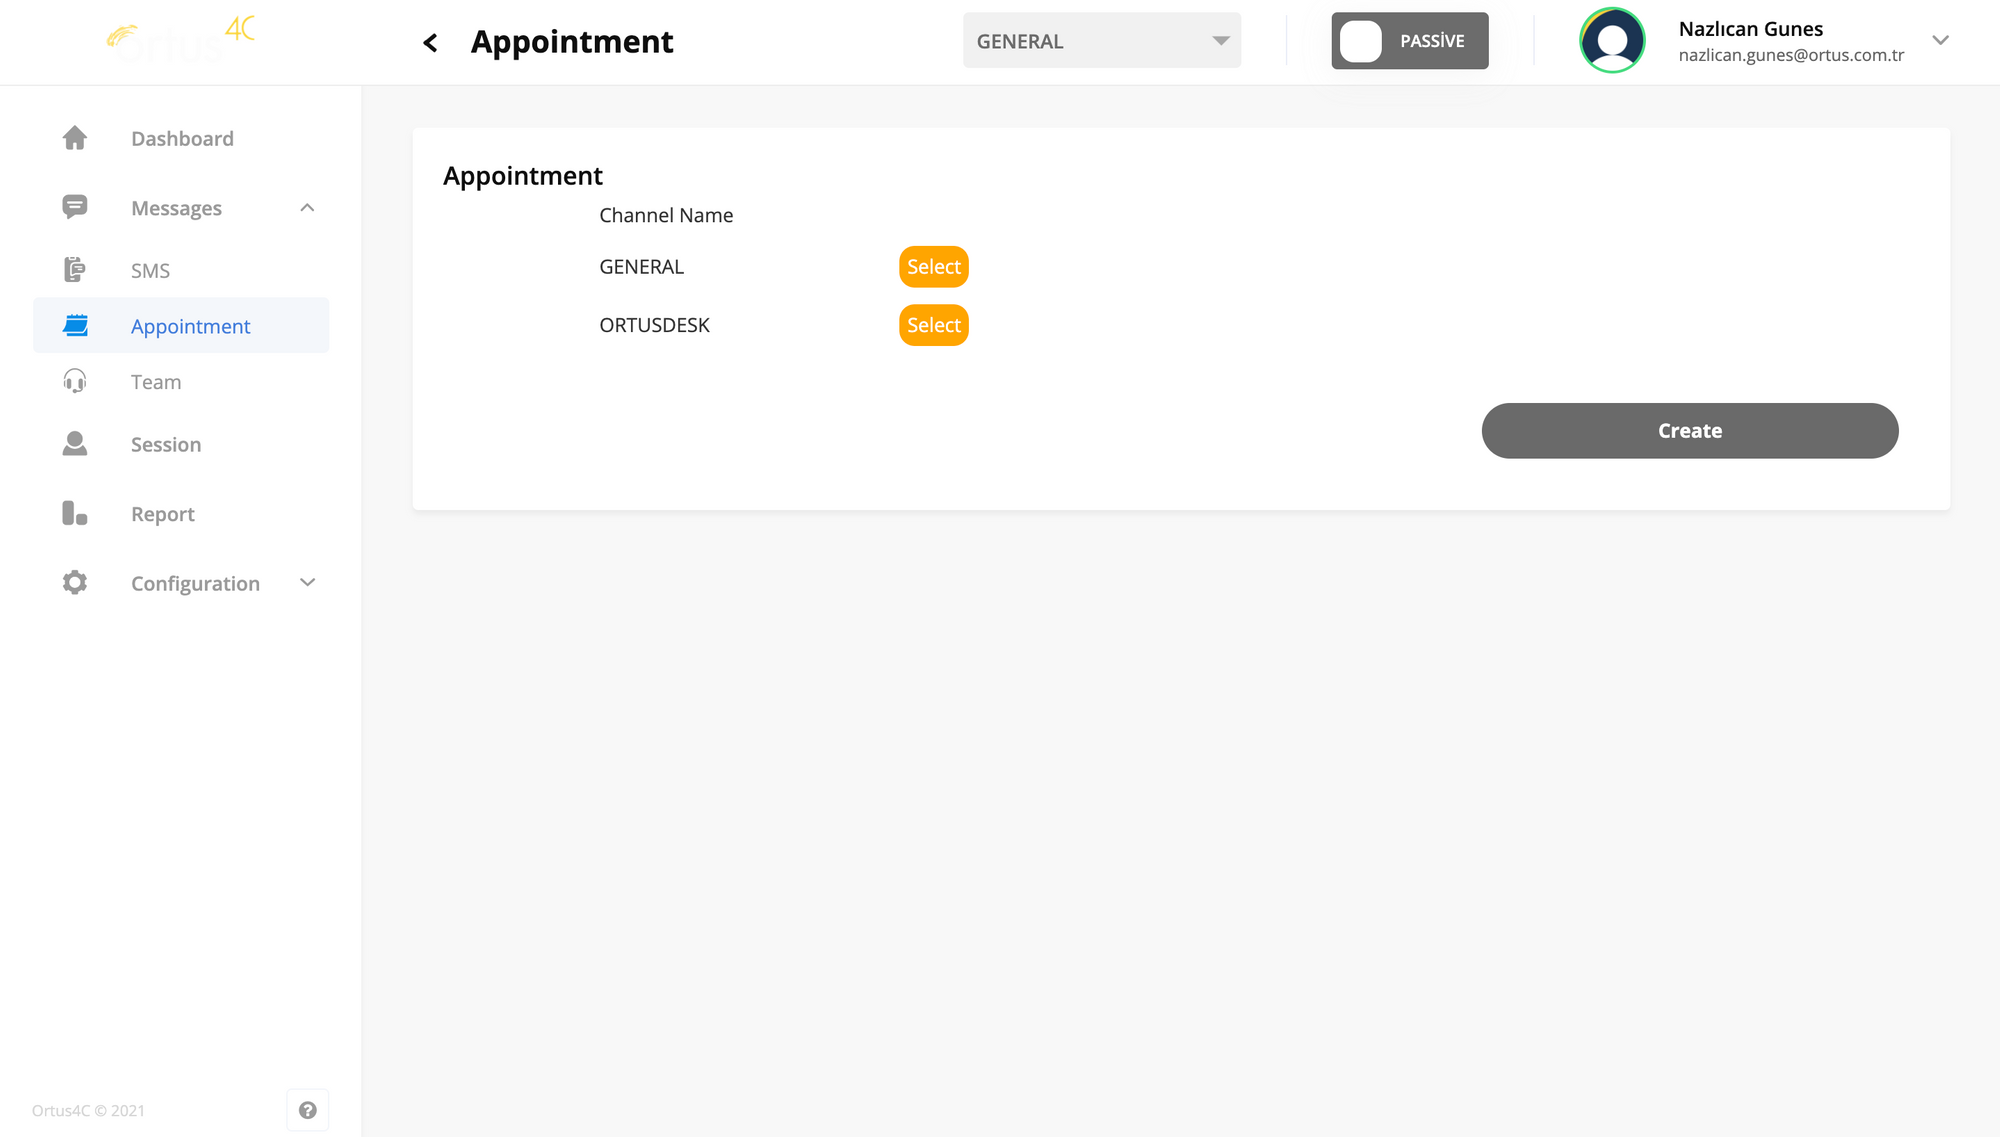
We have put two channels as an example here, but the names and functions of these channels will depending on your business. We have opened one general and one support channel as an example. Don't forget to press the select button after deciding which channel you will make an appointment with.
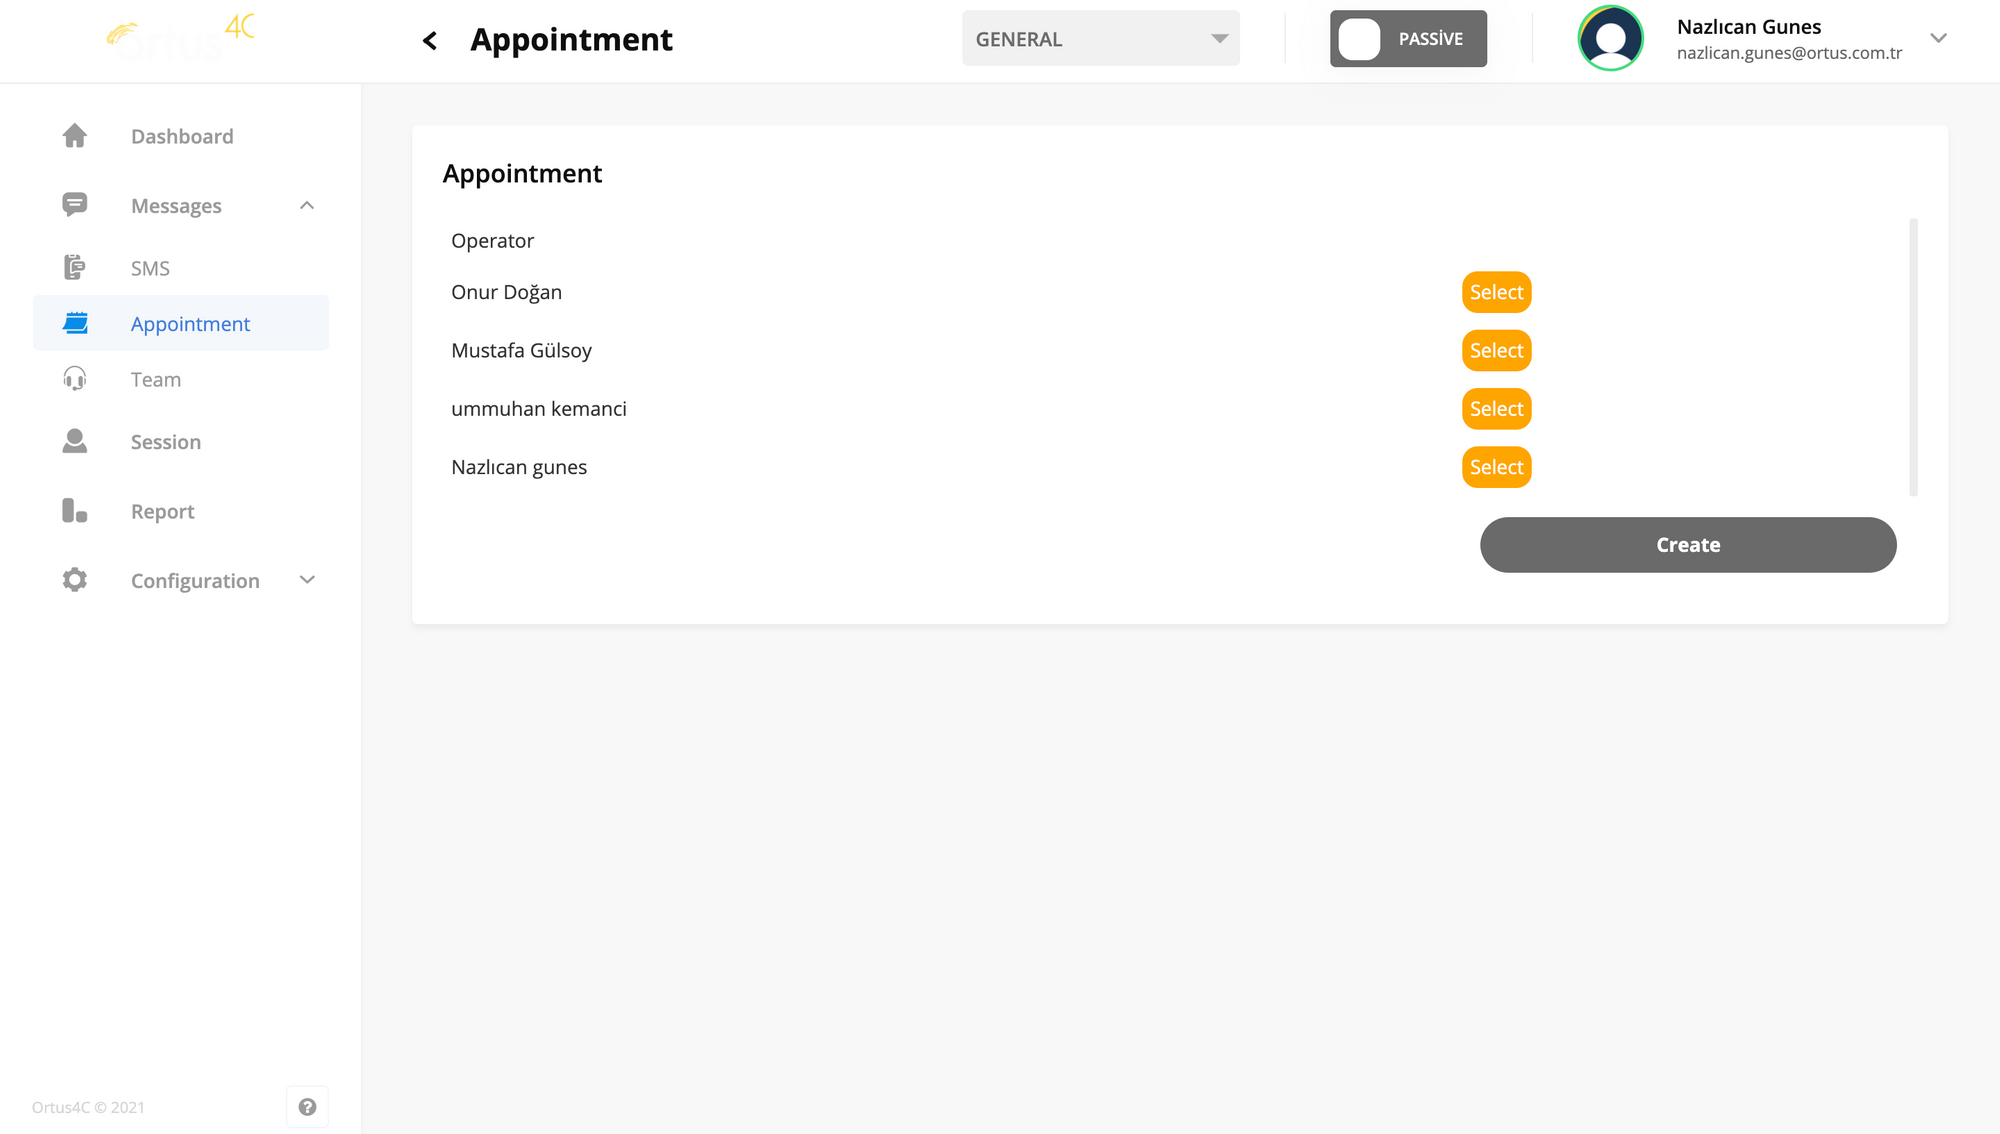
After selecting your channel, you will see a page with operators and you have the authority to select these operators. You can specify which operator you want to make your appointment with here. We also mentioned the creation and editing part of the operators on the page in our articles. You can also access this from the Configuration>Users section.
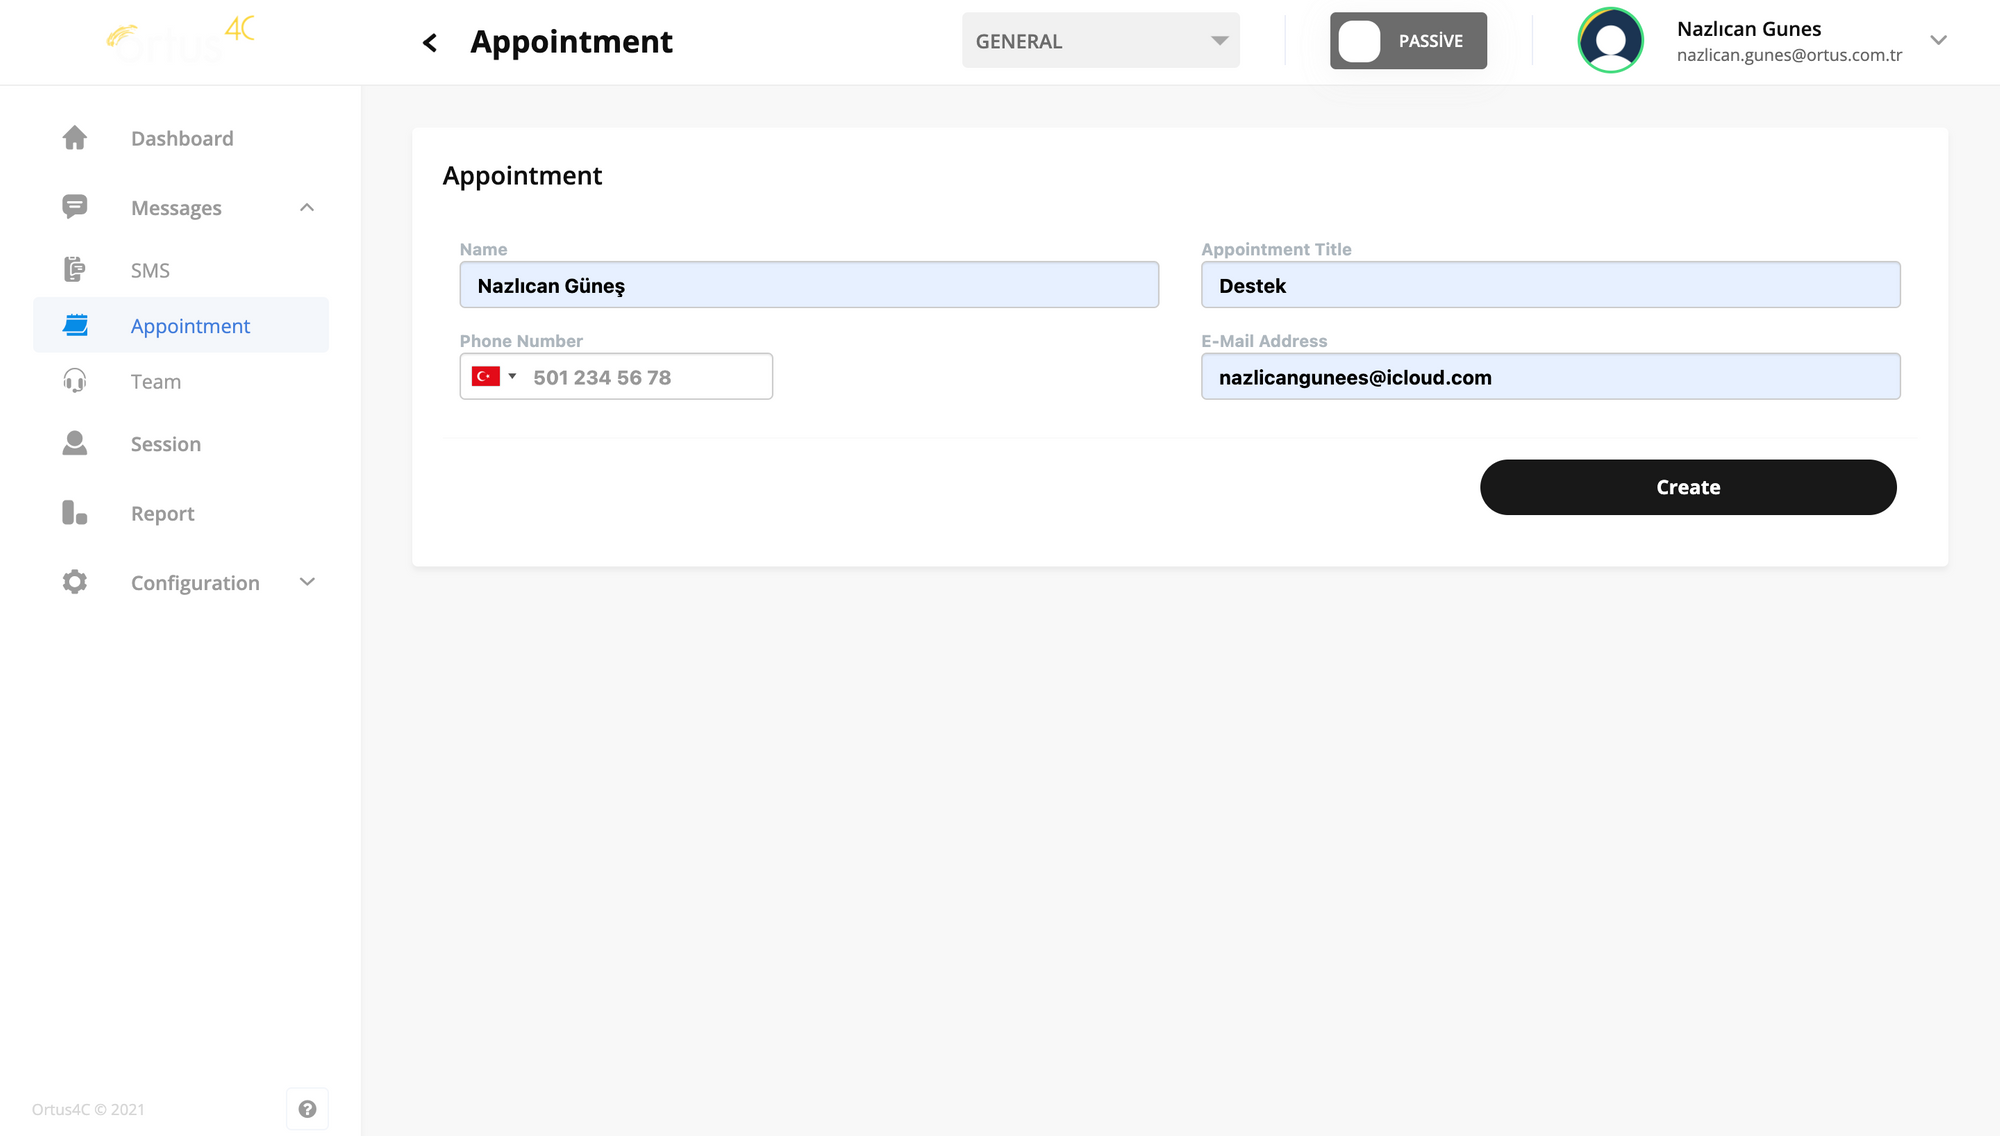
After selecting the operator you want, a page like this will appear. Here you need to enter the necessary information such as your name, e-mail address, appointment title, number. After entering this necessary information and pressing the create button, a table will appear suitable for you to choose the date and time of the appointment.
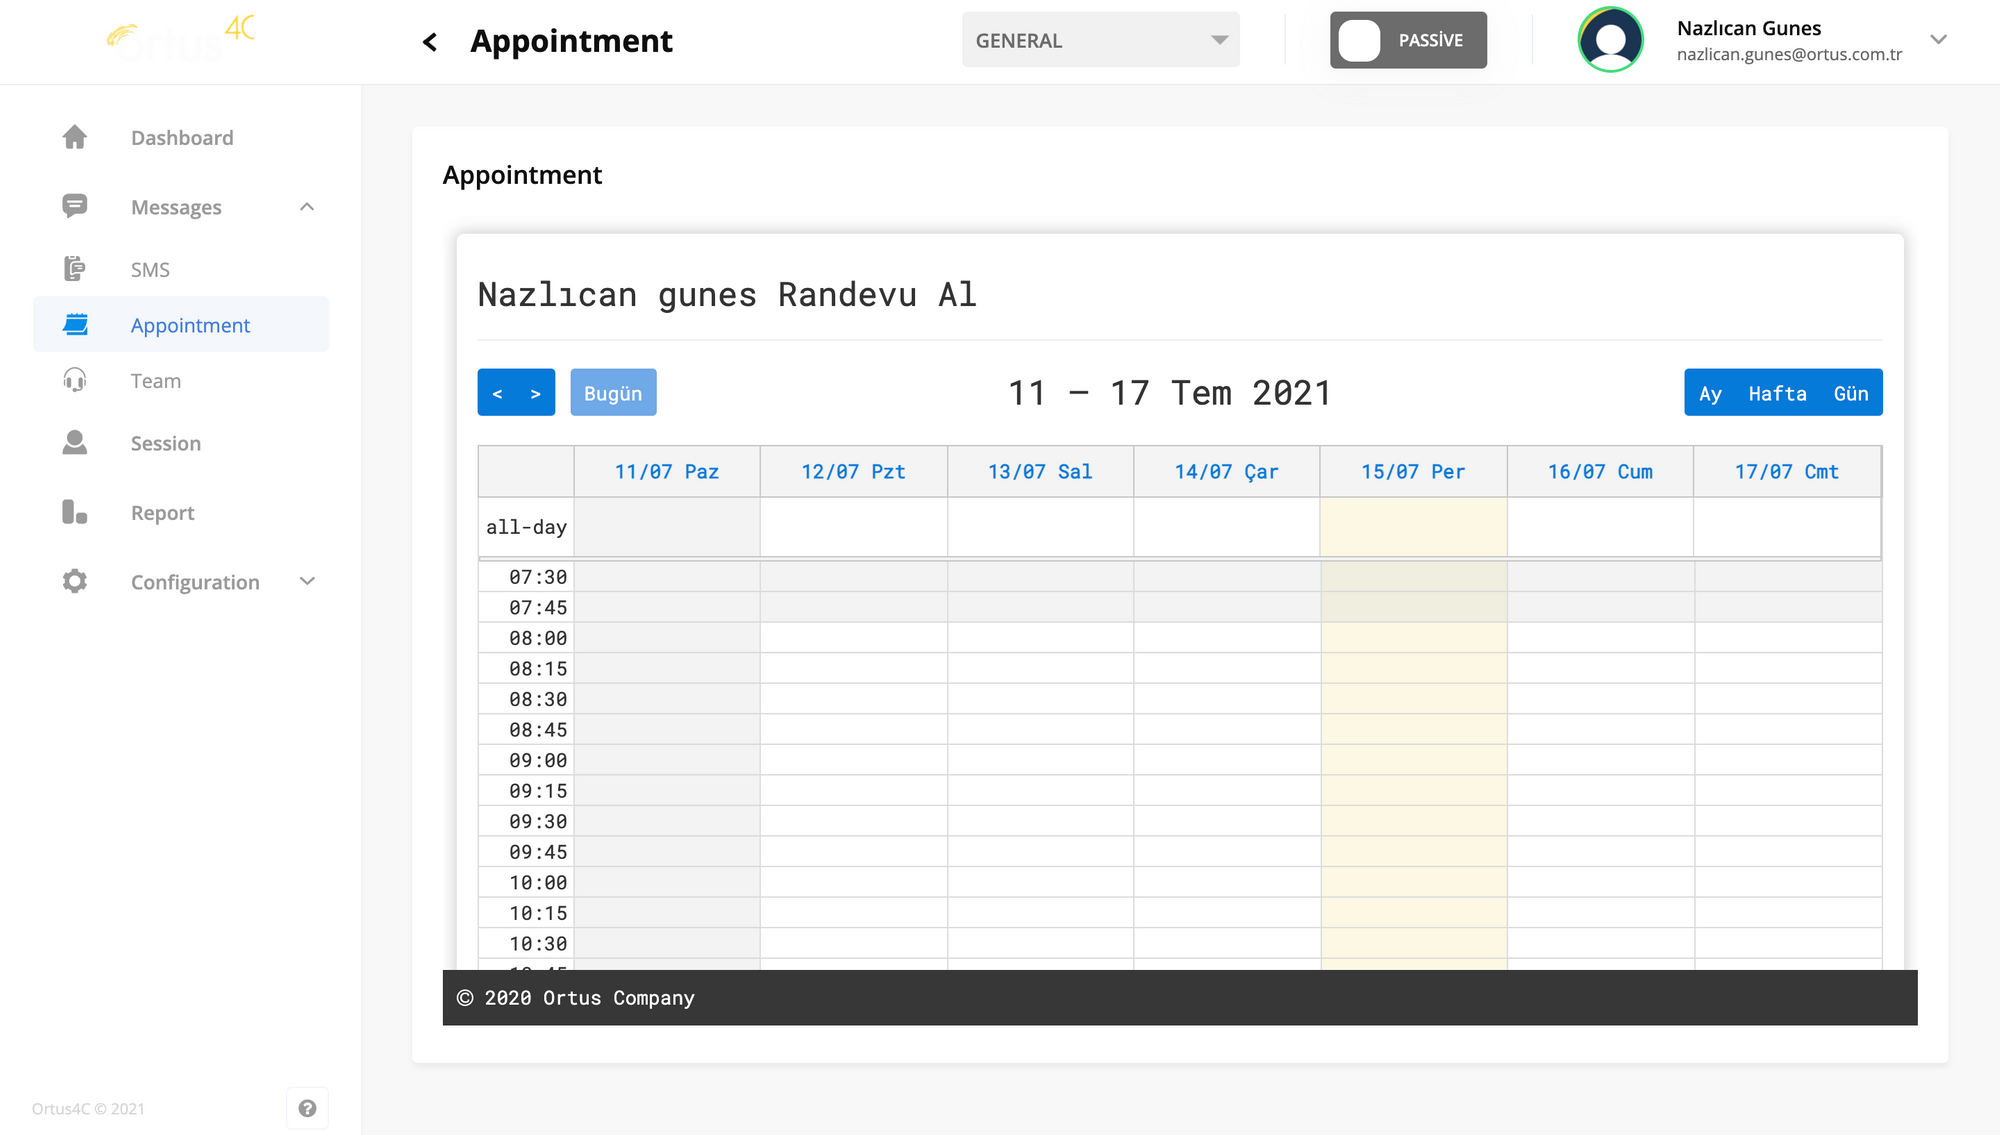
You will see a table like this. The date of the day you entered will be highlighted in yellow as seen in the table. You can make an appointment with this yellow part and the dates after it. When you click on the relevant day and date, a table like the one below will appear.
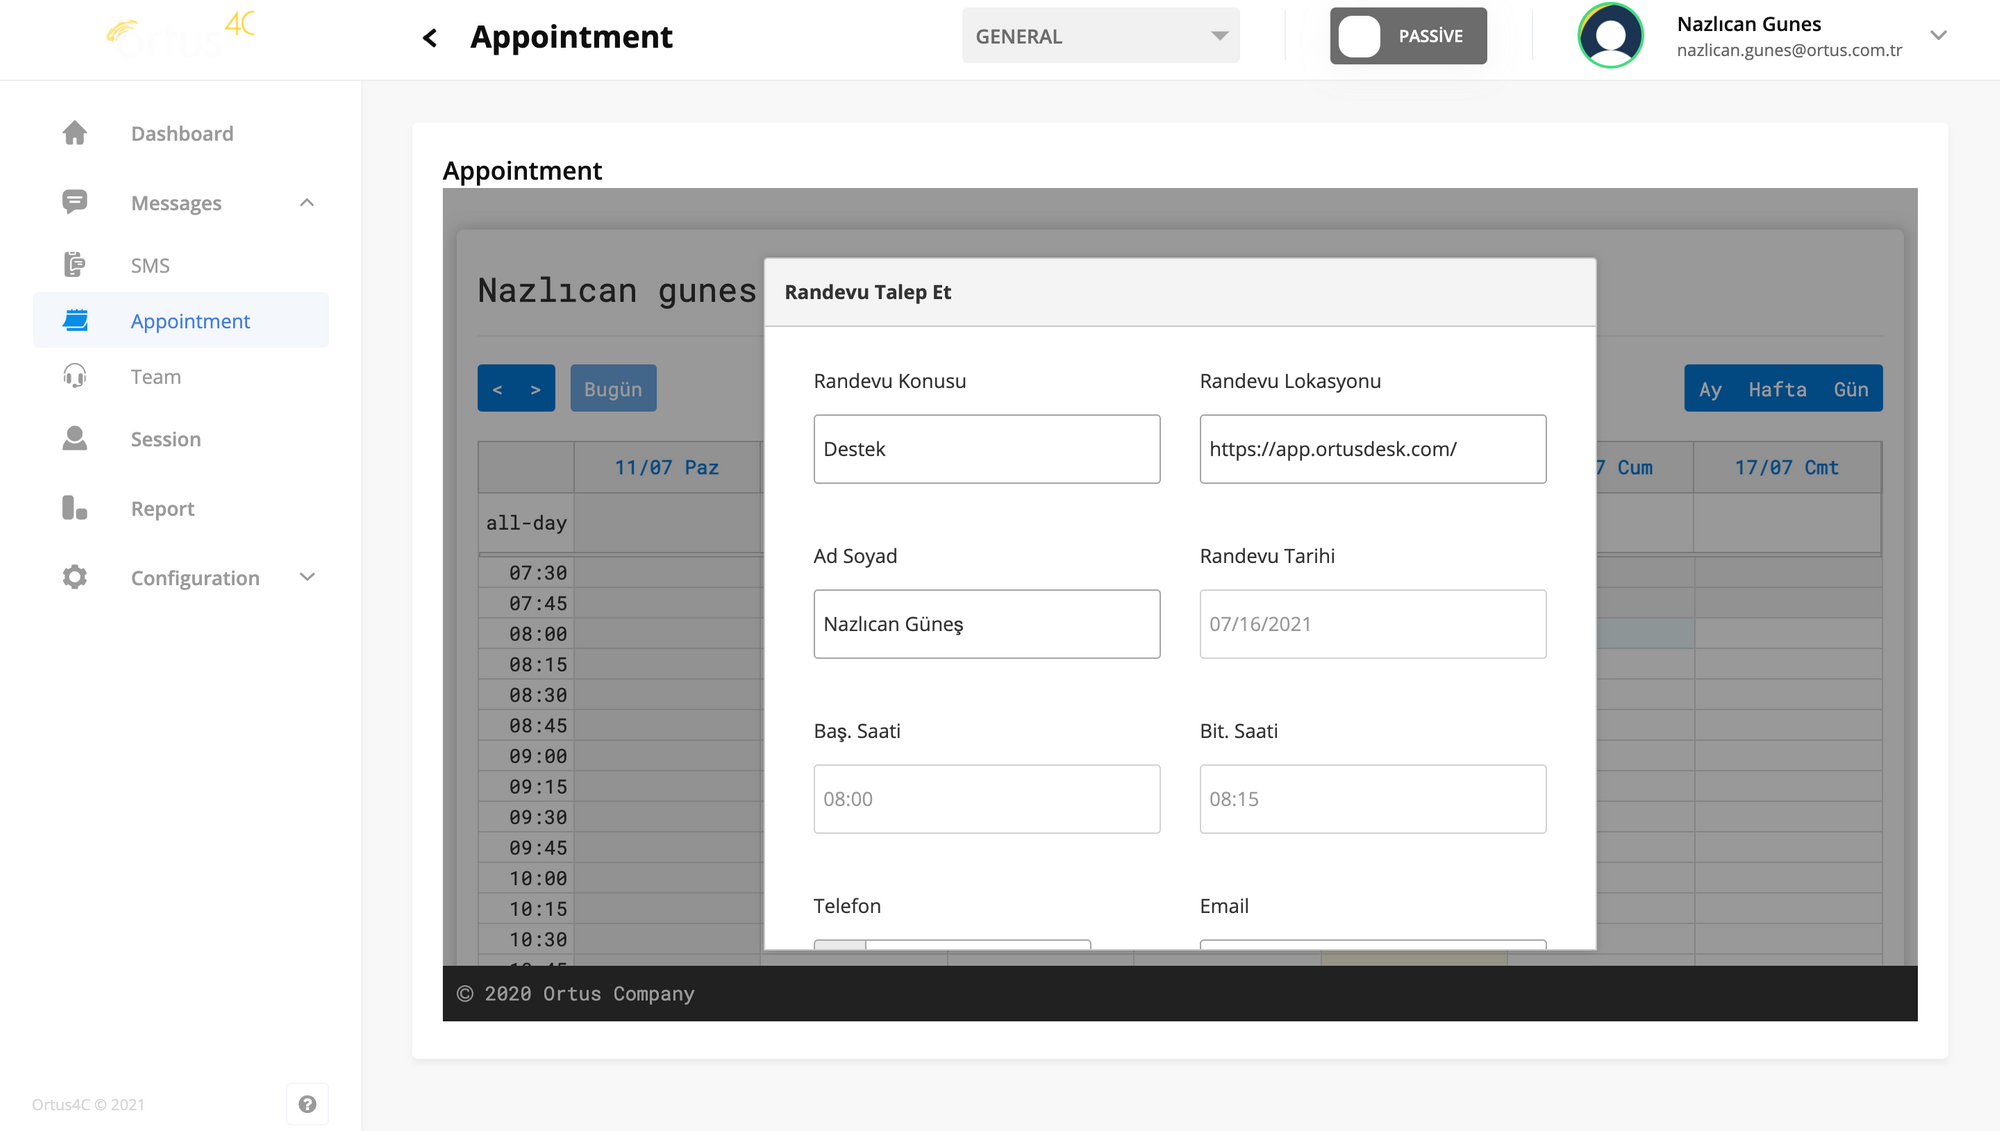
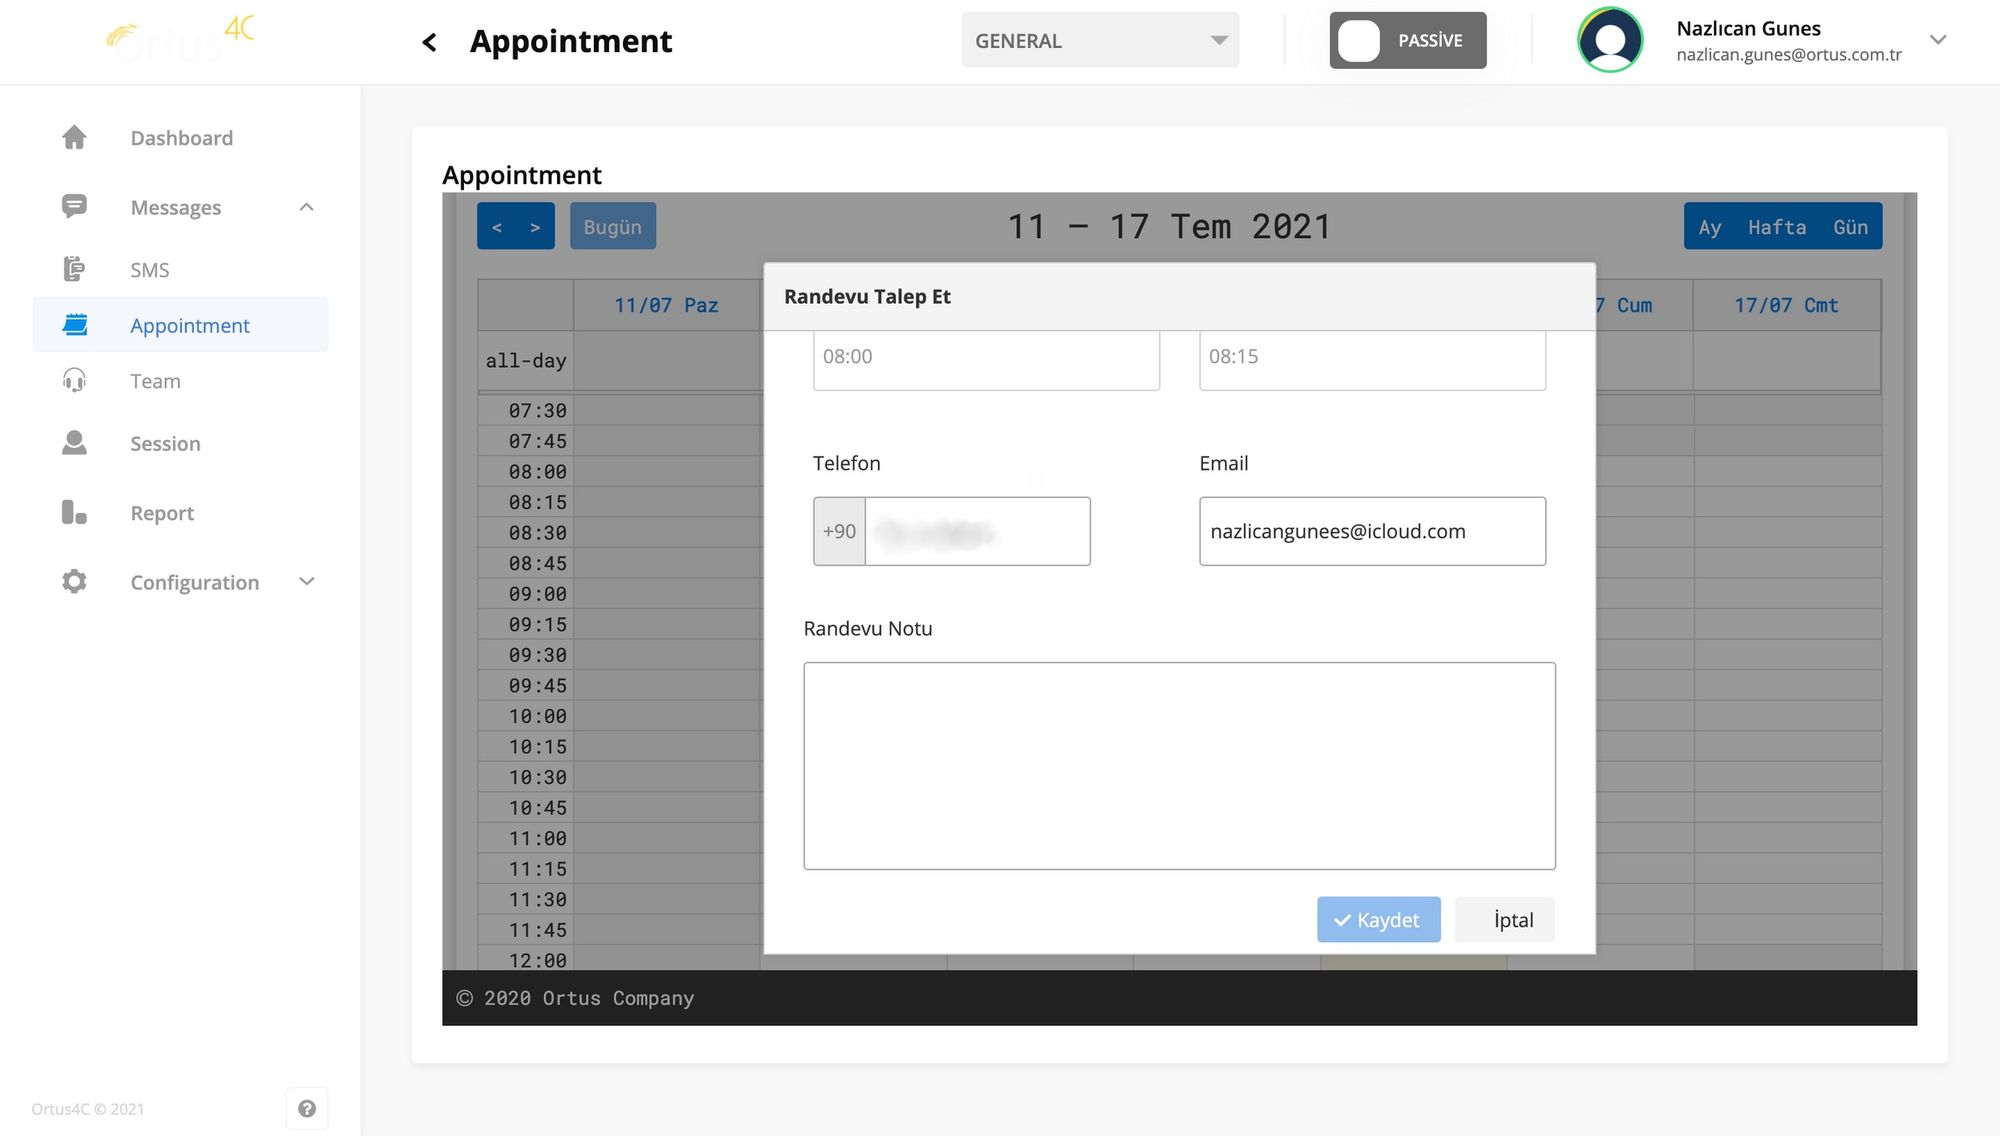
If you choose the day and time you want, the last screen before creating an appointment will appear. Here, the information you previously entered will be sorted automatically. In addition, if there is an appointment note that you want to specify, you can specify it in the appointment note section. If you press the save button after entering your appointment note, your appointment will be set.
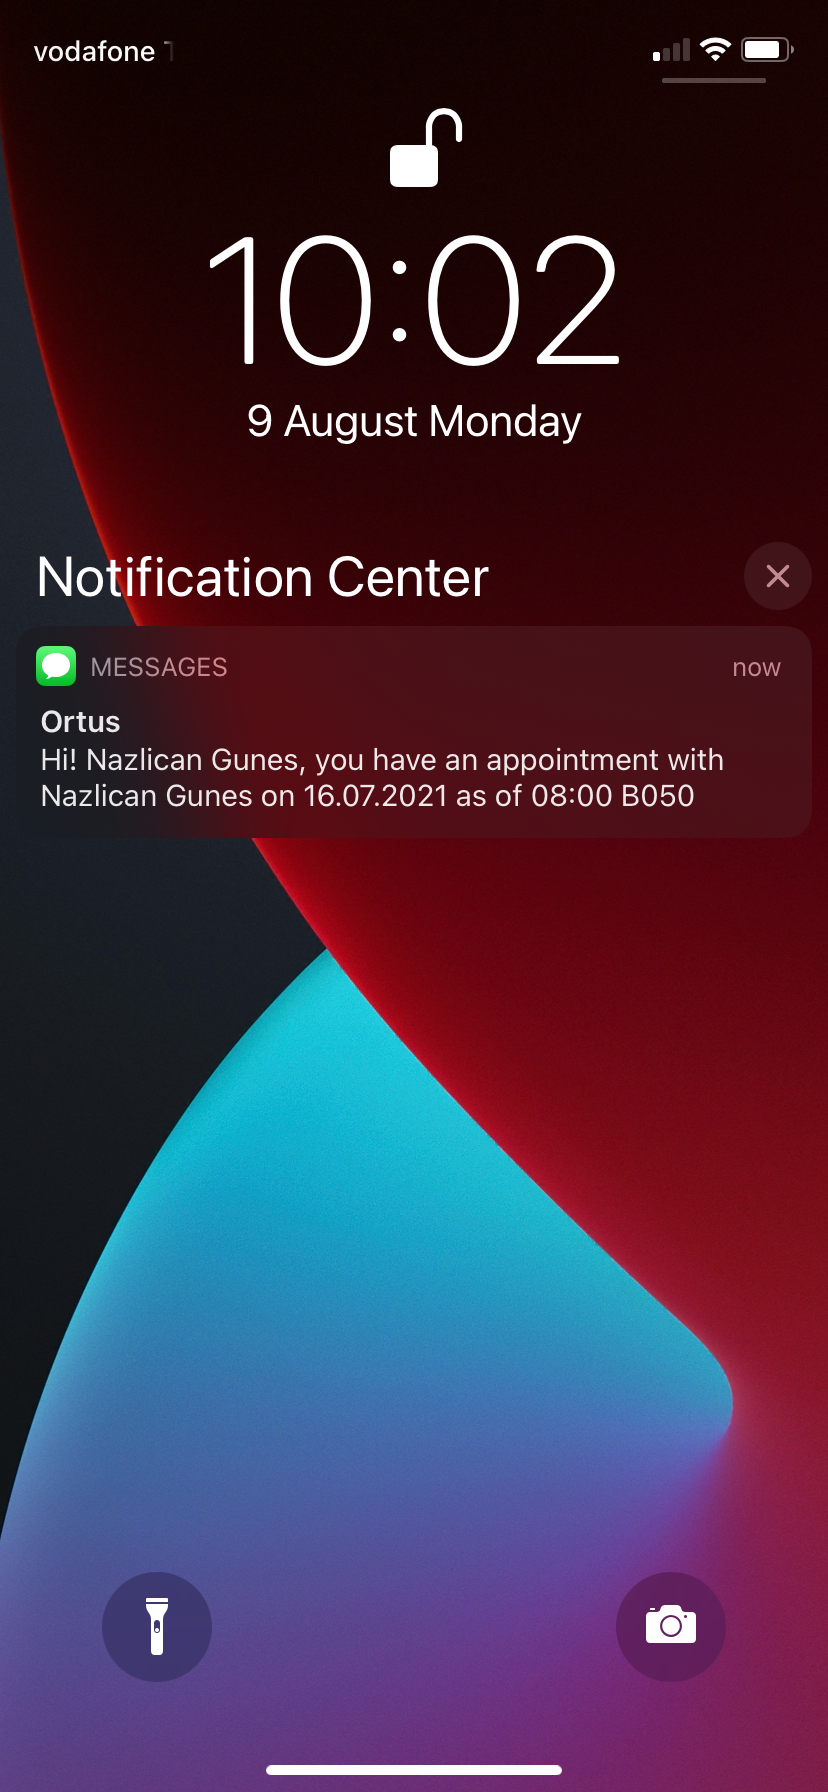
After your appointment is set, a message will automatically come to your phone, indicating and reminding you which operator you have an appointment with, and also containing the appointment link. heeloo
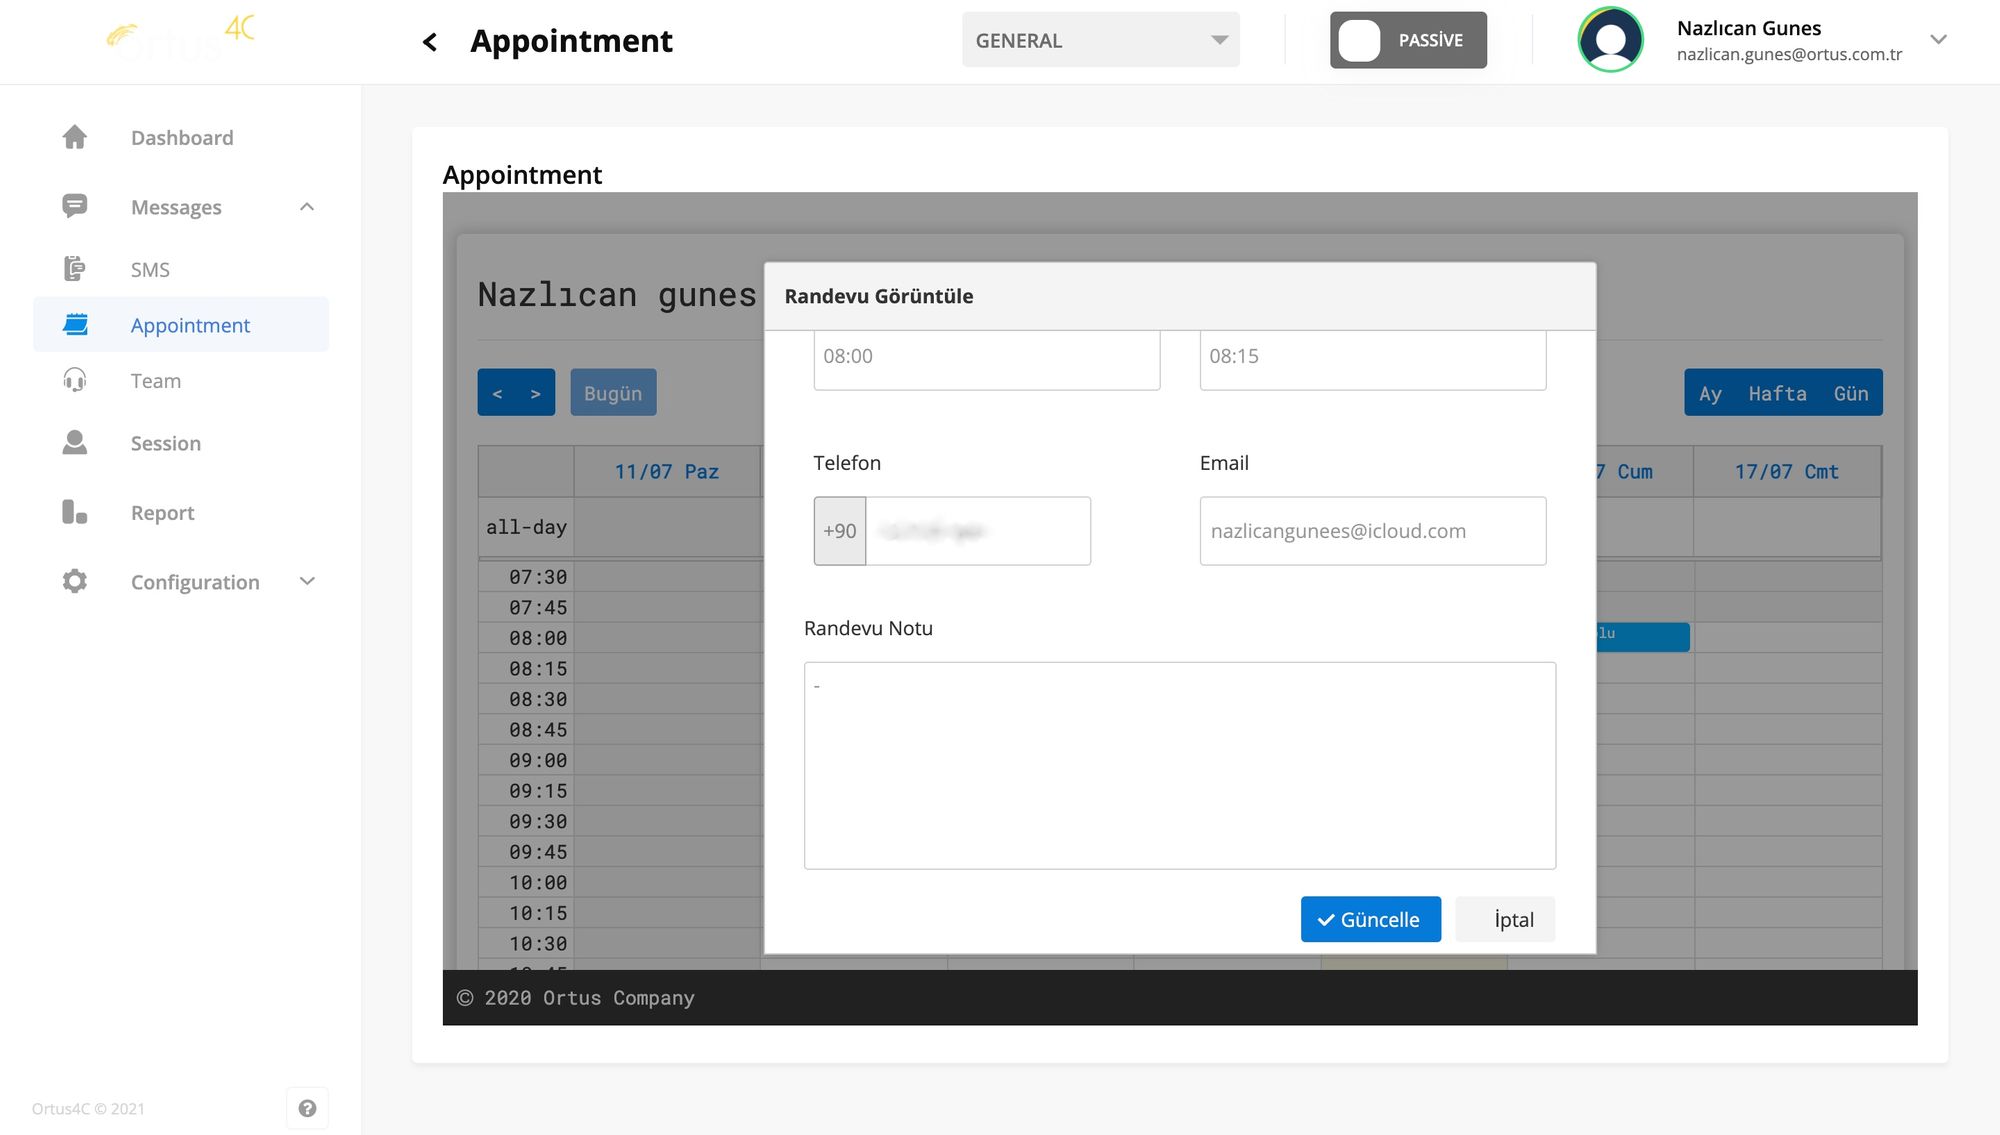
If you follow the same ways to organize your appointment and reach the appointment table, you can click on your appointment and make changes. You need to click on the update button from this table that appears again.
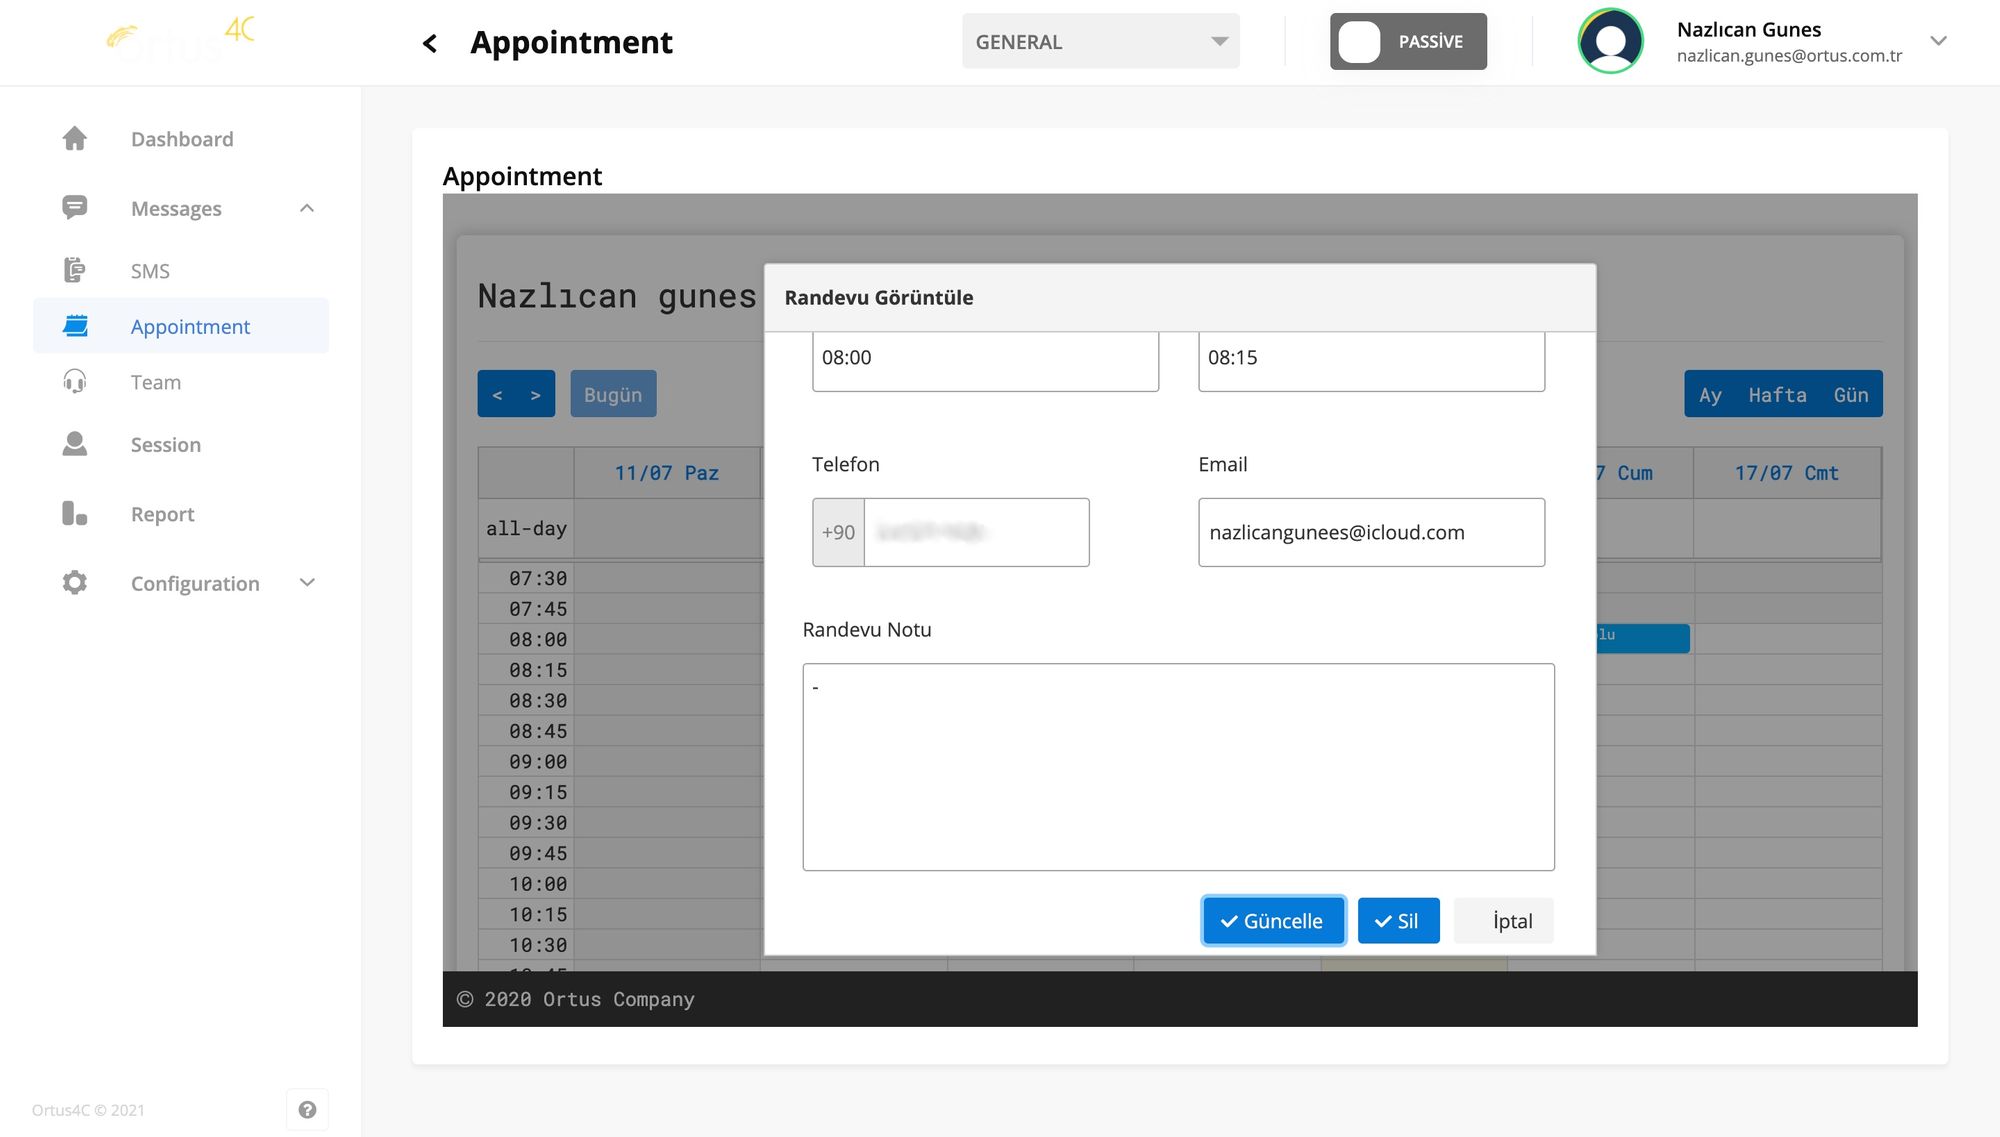
If you wish, you can make changes on your appointment and update it by clicking the update button below. If you want to cancel your appointment, simply press the delete button.
That's it!
Still need help? Message Us