Chatbot History
All Categories > Reports > Chatbot History
Chatbot History
"Chatbot history" in the "reports" section consists of information that can be viewed by customer service representatives. From the chatbot history section, you can view the history of your chatbot, just like the operator history, which is the other tab in the reports, which we mentioned in our previous article. You can read the article below for more information?
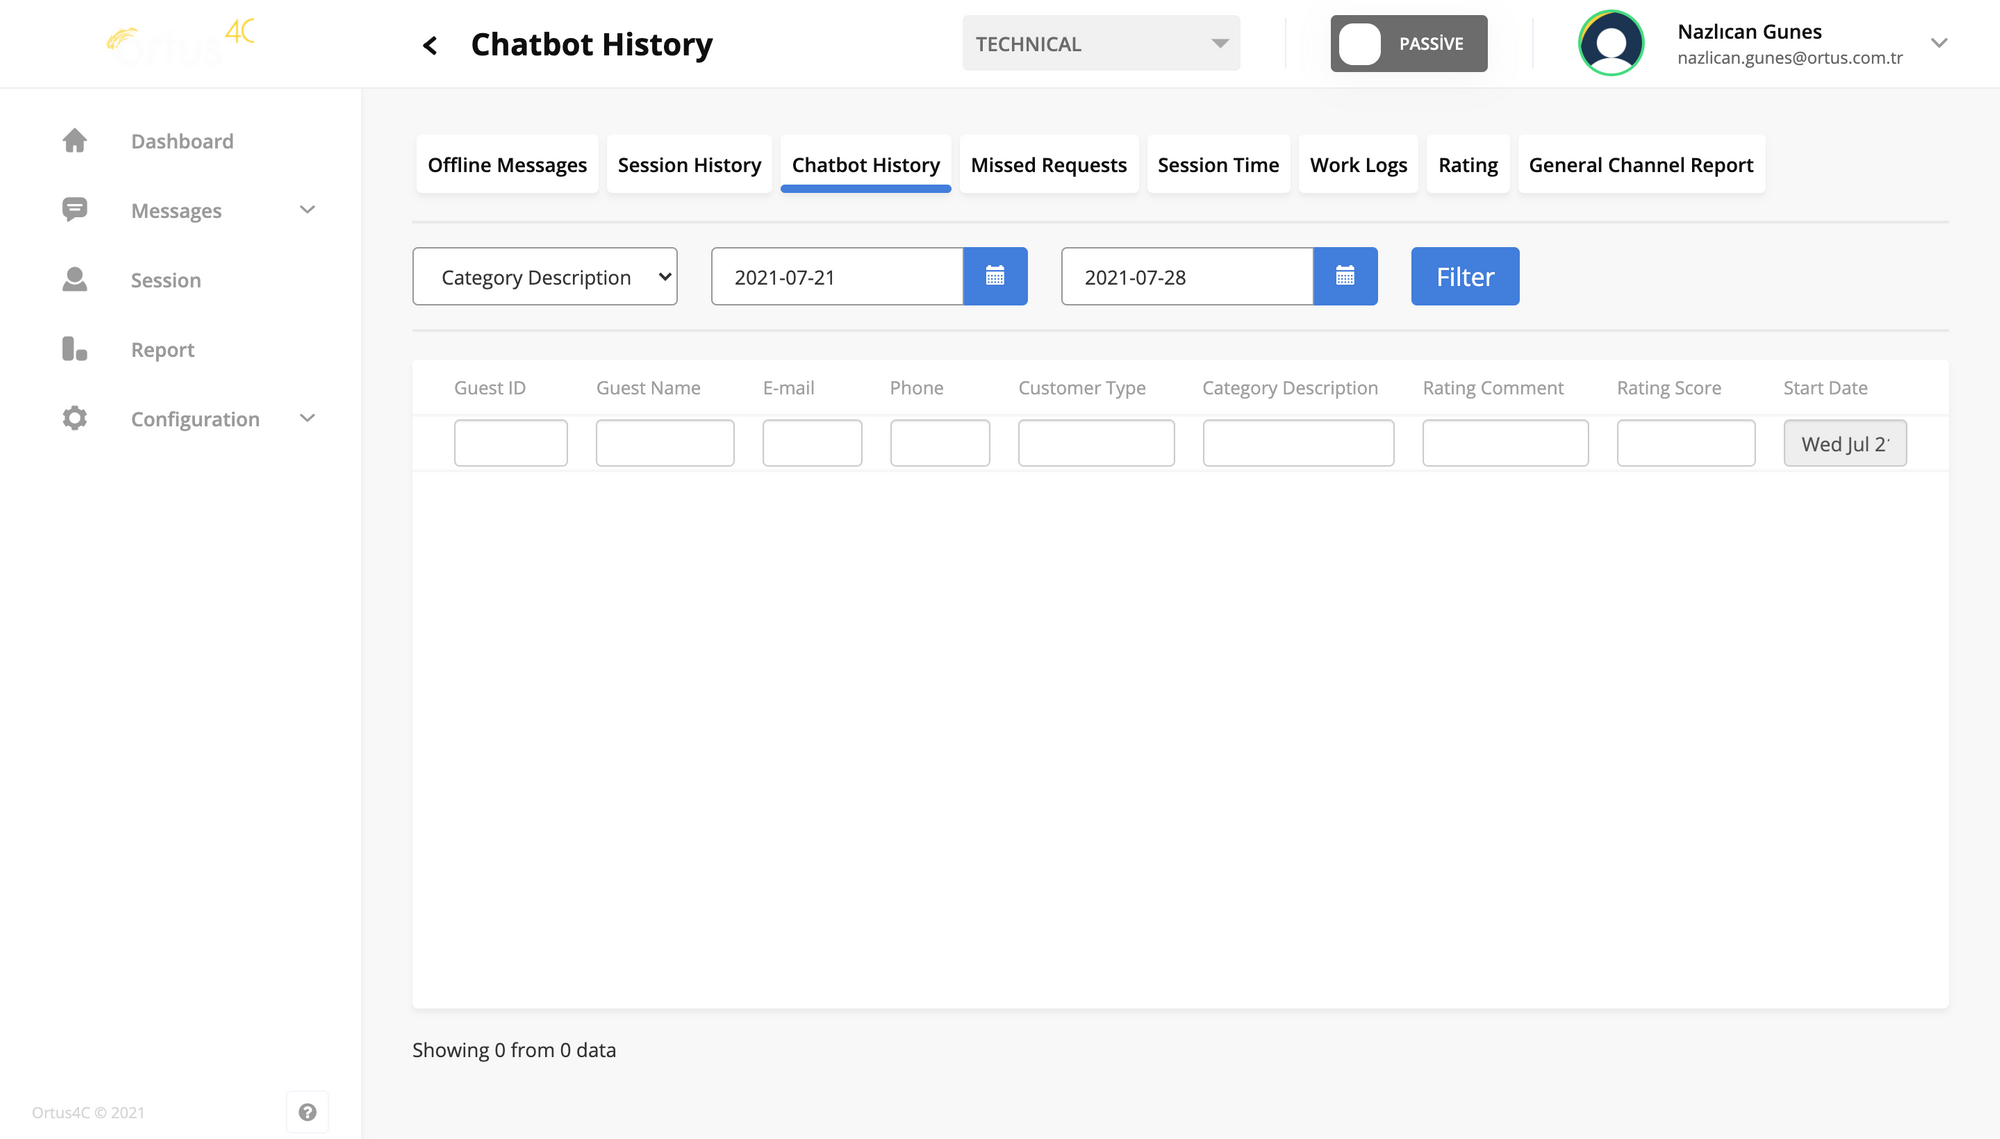
Guest ID: Guest id represents the id of the customers who want to receive service. The ids of the customers who receive service with the chatbot are automatically determined and listed in this column.
Guest Name: Customers enter their contact information into the system before receiving service. Starting from here, the names of the customers are listed here.
E-mail: Customers enter their contact information into the system before receiving service. E-mail addresses are listed here as well.
Phone: Customers enter their contact information into the system before receiving service. Phone numbers are listed here as well.
Customer Type: The customer type is determined from the group type section of the settings we have specified in our previous articles. You can learn how to set and edit the categories here by clicking here. Again, you can view which of the customer types your customers have chosen here.
Category Description: The situation here is very similar to the logic in group type. As we mentioned in our previous articles, you can specify topics from the subjects section. Thus, your customers will have pre-selected the category of support they will receive while receiving support. You can get more detailed information on this subject by clicking here. Here, these subjects that customers have determined are listed here.
Rating Comment: After written support or video support service, questionnaires are shown to customers. Along with these questionnaires, customers are expected to rate the support service. Here is the evaluation note they will write to the support service with the chatbot. So you can easily observe the deficiencies and take action faster!
Rating Score: Likewise, as in the paragraph we mentioned above, the vote scores given by the customers when evaluating after the service are displayed here and listed as a list.
Start Date: This is a part that serves to show which customer the chatbot communicated with and on which date it provided support services.
Here, just like the operators, the days of the robot are also recorded. If it is active, the day is specified in the start date part.
You will automatically see which id the customers have joined. In addition, contact information such as customer's names, phones and e-mail addresses are also recorded here.
We showed it in our previous articles. You can classify your customers to make it easier for them to contact you. We set these classifications in the configuration > subject section. These subjects that you have determined there correspond to the category description section here. If you want to check it, click here.
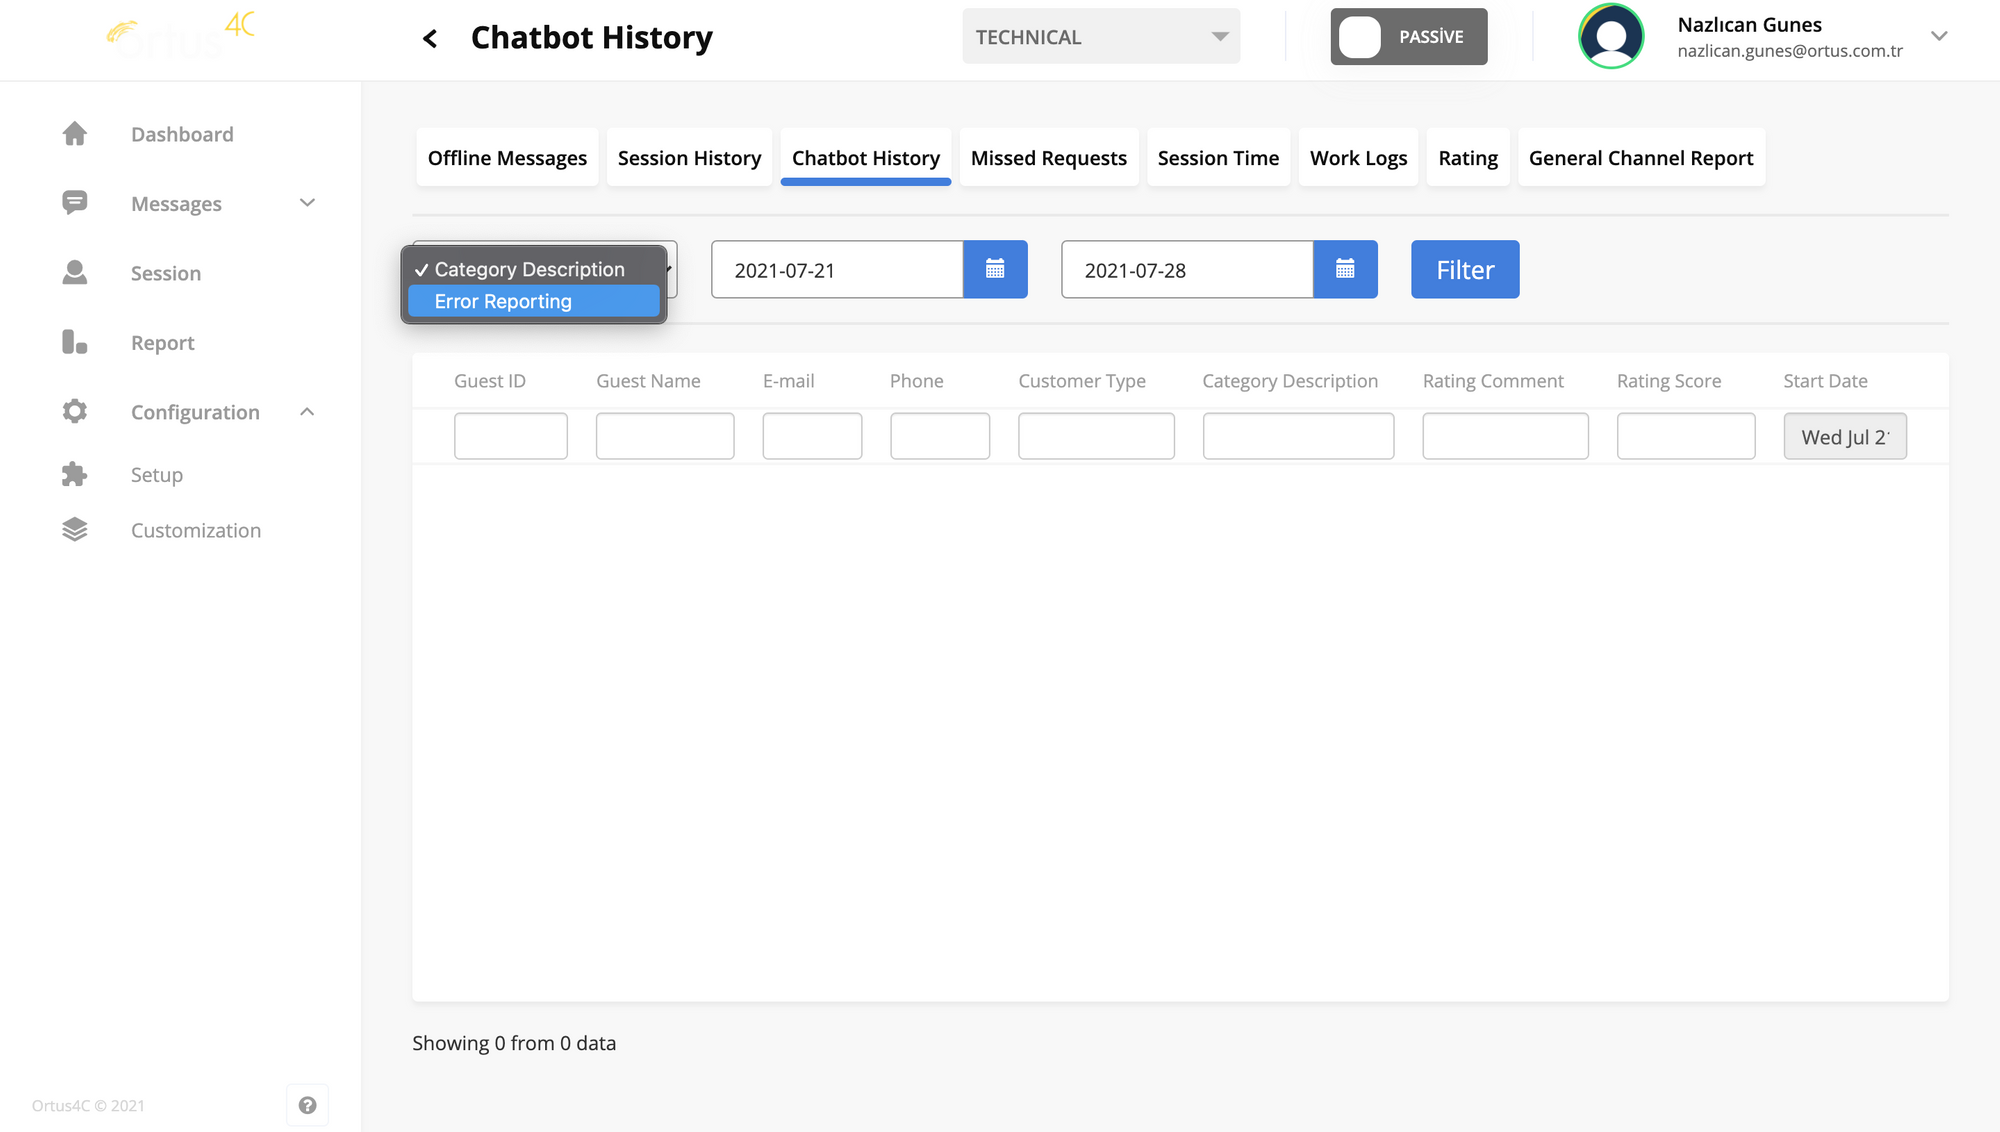
Here we have set an example subject for you. The subject we determined here fell into the category description section that appears in the screenshot above. As you can see, the topics on which the chatbots communicate with the customers, and which category the customers write, can be seen here.
At the same time, you can view your customer types, which we have shown in our other articles, from another category, customer type, which is side by side with this category. With the customer type you create here, your customers make a choice before communicating with the chatbot. The customer type and category description selection they made is also displayed here. Also, if you want to check our previous article which is about customer type, you can click here.
That's it!
Still need help? Message Us